

How to Safely Clean Your Oven: Tips and Techniques
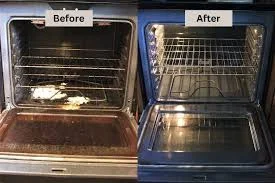
Oven grime builds slowly, then all at once—spills carbonize, smoke appears on preheat, and dinner smells… suspicious. The good news: you can restore a clean, odor-free oven without wrecking the finish or fumigating your kitchen. This guide breaks down what actually works, what to avoid, and how to match the method to your oven type. It’s written for homeowners who prefer practical steps over chemical experiments.
Note: Appliance Rescue does not offer repair services. We publish Expert Guides, Appliance Tips, and Troubleshooting Advice to help you care for your gear safely. Have a question about this guide? Contact us.
Quick Primer: Know Your Oven Before You Clean
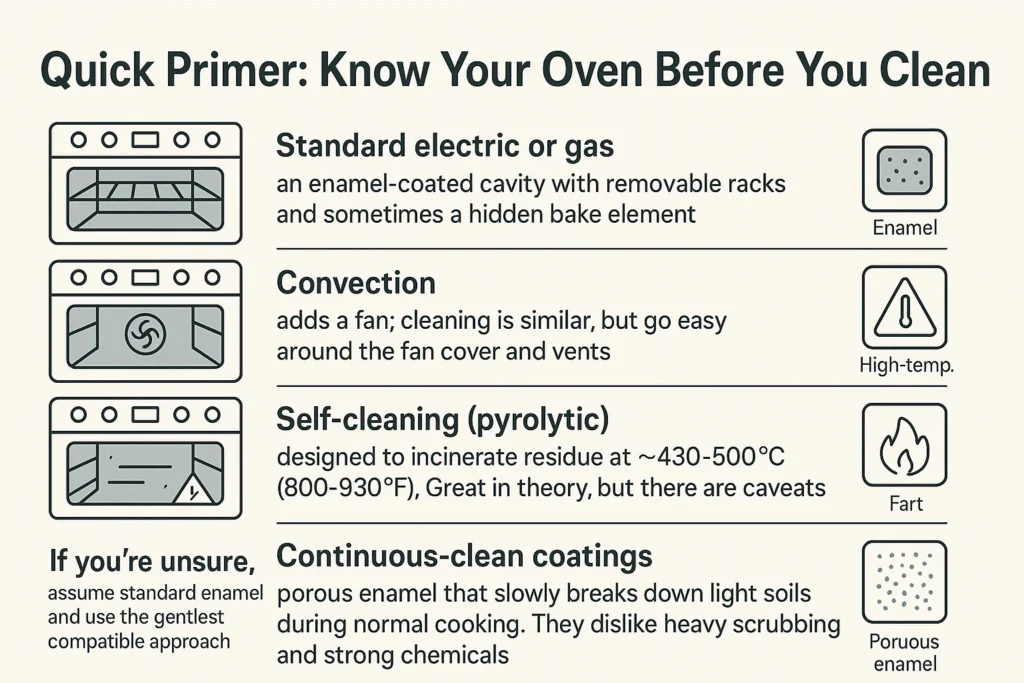
Not all ovens handle heat and chemicals the same way. Peek at your manual (usually available online) and identify:
- Standard electric or gas: an enamel-coated cavity with removable racks and sometimes a hidden bake element.
- Convection: adds a fan; cleaning is similar, but go easy around the fan cover and vents.
- Self-cleaning (pyrolytic): designed to incinerate residue at ~430–500 °C (800–930 °F). Great in theory, but there are caveats below.
- Continuous-clean coatings: porous enamel that slowly breaks down light soils during normal cooking. They dislike heavy scrubbing and strong chemicals.
If you’re unsure, assume standard enamel and use the gentlest compatible approach.
What Actually Works (Safely)

1) The Baking Soda Paste (Gold Standard for Most Messes)
- Why it works: Mildly alkaline, non-abrasive, and fume-free. It softens baked-on grease without etching enamel.
- How to do it:
- Mix ½ cup baking soda with enough warm water to form a spreadable paste (add a squirt of dish soap for extra surfactants).
- Remove racks. Spread the paste across the interior, avoiding heating elements and door gaskets.
- Let it sit at least 8 hours (overnight is best).
- Wipe with a damp microfiber cloth.
- Mist stubborn spots with white vinegar. The fizz helps lift residue. Wipe again and finish with a clean, damp cloth.
- Good for: Standard enamel, glass doors, and light to moderate build-up.
Tip: Keep paste slightly wet while it works—cover with plastic wrap if your kitchen is dry.
2) Steam-Assist Clean (Pan of Water + Heat)
- Why it works: Steam loosens light soils and softens sugars.
- How to do it:
- Put a wide, oven-safe pan with 2 cups of hot water (add a splash of vinegar if odors linger) on the middle rack.
- Heat the oven to 225–250 °F (110–120 °C) for 20–30 minutes.
- Turn off, let it cool until warm, then wipe.
- Good for: Fresh spills, routine maintenance, and sensitive coatings (including many continuous-clean interiors).
- Not magic: Steam won’t remove heavy carbon; pair with baking soda paste afterward.
3) Rack-Only Soak (Don’t Scrub the Cavity with These)
- Why it works: Racks can handle stronger detergents than the enamel can.
- How to do it:
- Soak racks in a bathtub or big bin with very hot water and a generous scoop of oxygen cleaner (or dishwasher detergent) for 2–6 hours.
- Use a non-scratch pad to finish.
- Avoid: Steel wool on chrome-plated racks—it can scratch and lead to rust.
4) Spot Tools for Stubborn Bits
- Plastic scraper or old gift card: to lift carbon flakes without scratching.
- Razor scraper (for glass only): Use a new blade at a low angle with soapy water as a lubricant. Avoid the enamel.
- Pumice stone (careful): Only on wet, glossy porcelain enamel and only with a very light touch. Test first; pumice can dull finishes.
5) Citrus Degreasers & Mild Alkaline Cleaners
- d-Limonene-based sprays and diluted alkaline degreasers (pH < 11) can speed up grease removal with less harshness than lye.
- Always spray on the cloth, not the cavity roof, to avoid overspray into vents or thermostat probes.
- Rinse thoroughly; residues can smoke on the next preheat.
Methods to Treat with Caution (or Skip)

The Self-Clean Cycle: Powerful but Risky
Self-clean incinerates residue, but the extreme heat can stress door locks, thermal fuses, control boards, and adjacent cabinetry. It can also release smoke if the oven is very dirty.
- If you use it:
- Remove racks (the heat can discolor or warp them).
- Wipe major grease first to reduce smoke.
- Ventilate well; plan to be home and alert.
- Who should avoid: Older ovens, units with known control-board issues, or homes with poor ventilation. A paste-and-steam combo is gentler and usually sufficient.
Off-the-Shelf “Heavy-Duty” Oven Cleaners (Lye-Based)
They dissolve carbon fast—but the trade-offs include caustic burns, fumes, and potential damage to aluminum trim or sensitive coatings.
- Safe-ish usage (if you must):
- Wear gloves and goggles, ventilate, protect nearby finishes, and keep off gaskets, probes, and bare aluminum.
- Never mix with acids (vinegar, citrus) during the same session; neutralization can release heat and splatter.
Magic Erasers (Melamine Foam)
Effective on glass streaks, but they are micro-abrasive. Use light pressure; avoid printed markings and soft coatings.
Household Myths to Skip
- Baking soda + vinegar as a “power cleaner”: they largely neutralize each other. Use them sequentially—paste first, vinegar later as a rinse aid.
- Lemon halves at high heat: pleasant scent, minimal cleaning.
- Bleach in ovens: unnecessary and risky; fumes and corrosion potential outweigh benefits.
Step-by-Step: A Safe Deep-Clean in One Afternoon
- Unplug or turn off the gas supply (if accessible) and make sure the oven is completely cool.
- Remove racks, thermometers, trays; start the rack soak (see above).
- Vacuum or wipe out loose debris to prevent smearing.
- Apply baking soda paste generously; avoid the door gasket, fan vents, and heating elements.
- Wait 8–12 hours (or at least a long lunch + chores). Keep the paste moist.
- Wipe with warm water and a microfiber cloth.
- Vinegar mist on residue; wipe again. Repeat on stubborn areas.
- Clean the door glass (soapy water first; use a razor only if needed, at a shallow angle).
- Rinse cloths often to avoid redepositing grime.
- Dry the cavity with a clean towel; leave the door ajar to air out.
- Finish the racks and reinstall.
- Test preheat to 350 °F (175 °C) for 10–15 minutes with windows open to burn off any lingering moisture or cleaner traces.
Special Notes by Oven Type
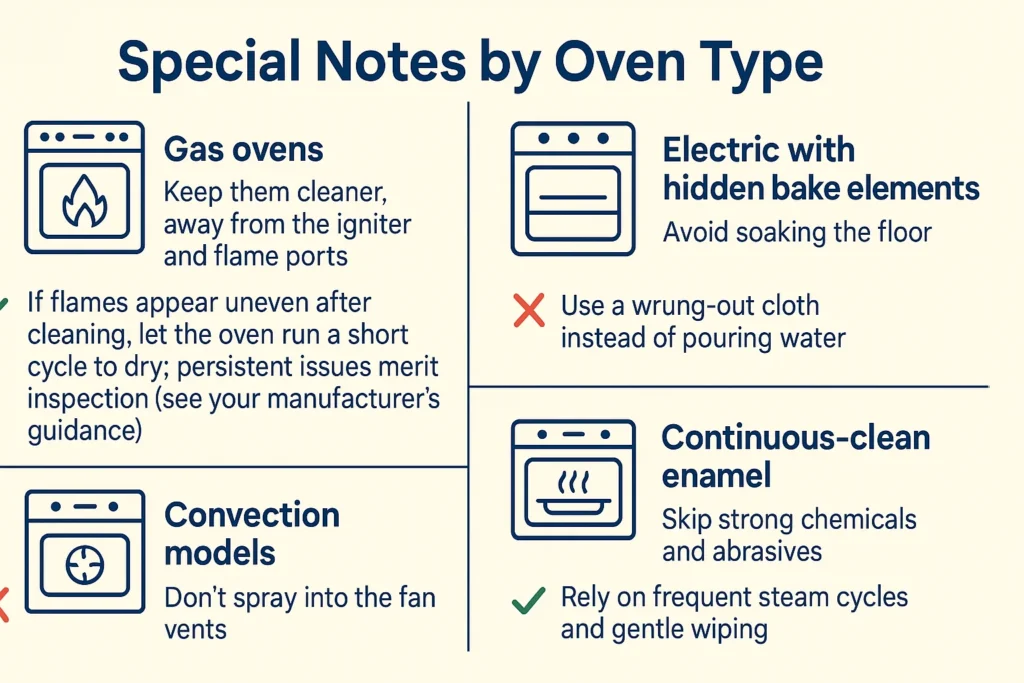
- Gas ovens: Keep them cleaner, away from the igniter and flame ports. If flames appear uneven after cleaning, let the oven run a short cycle to dry; persistent issues merit inspection (see your manufacturer’s guidance).
- Electric with hidden bake elements: Avoid soaking the floor; use a wrung-out cloth instead of pouring water.
- Convection models: Don’t spray into the fan vents. Wipe the fan cover only.
- Continuous-clean enamel: Skip strong chemicals and abrasives; rely on frequent steam cycles and gentle wiping.
Odors, Smoke, and “Why Is It Still Dirty?”
- Persistent odors: Try a short steam-assist, then wipe with a mix of warm water + a teaspoon of lemon juice (for scent) or plain vinegar (for neutralization).
- Smoking on preheat: Usually, leftover residue. Let the oven cool, wipe again with a damp cloth and a dot of dish soap, then do a brief 350 °F preheat with good ventilation.
- Brown haze on glass: Mix baking soda + a few drops of hydrogen peroxide to form a loose paste. Apply, wait 30 minutes, wipe gently. Test first—avoid printed markings.
What to Clean (and What to Leave Alone)
- Clean: Cavity walls and floor, ceiling, door glass (inside), light lens (remove and wash if your manual allows), racks, and side supports.
- Leave alone: Door gasket (only blot gently if stained), temp sensor probe, igniter, fan blades (wipe the cover, not the blades), and any aluminum trim (use only mild soap there).
Safer Supplies Checklist
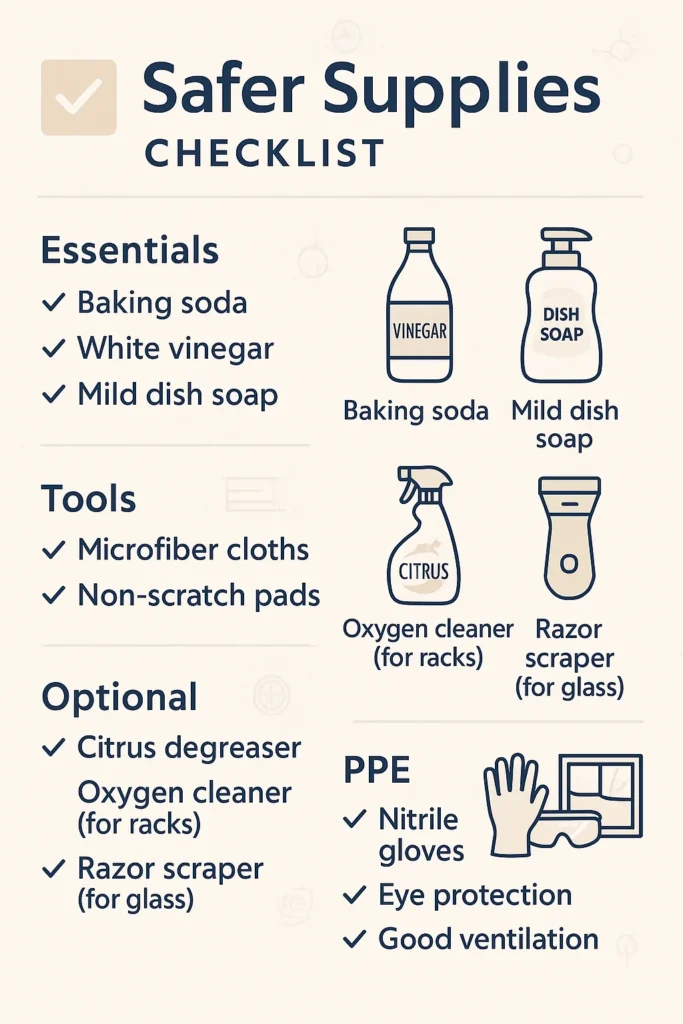
- Baking soda, white vinegar, mild dish soap
- Microfiber cloths, non-scratch pads, and a plastic scraper
- Optional: citrus degreaser, oxygen cleaner (for racks), razor scraper (for glass)
- PPE: nitrile gloves, eye protection, and good ventilation
Preventive Habits That Save You Hours
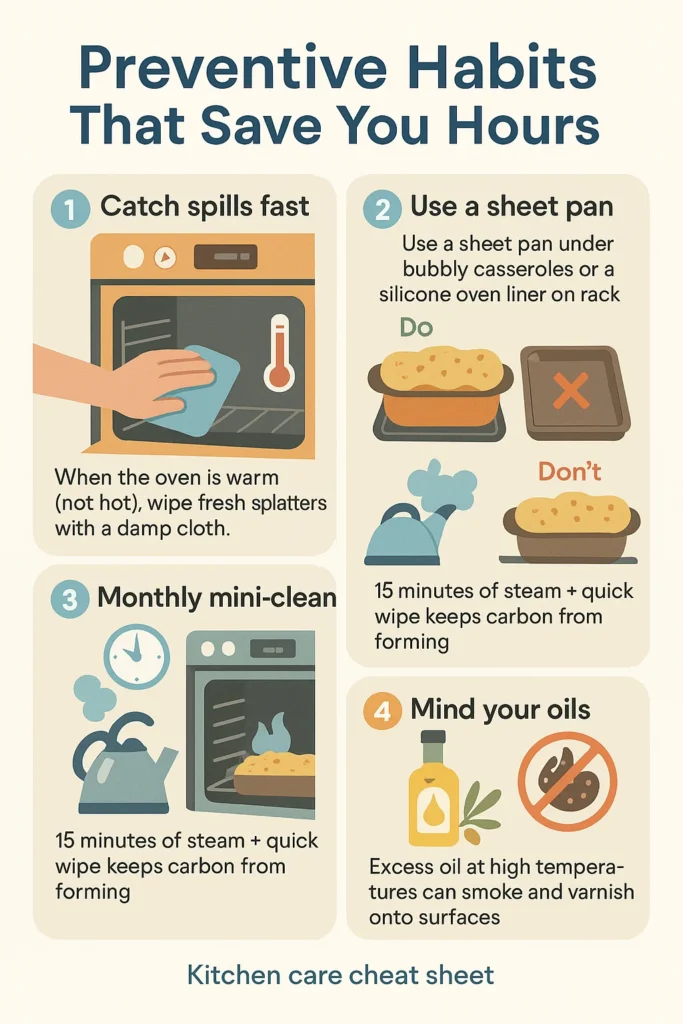
- Catch spills fast: When the oven is warm (not hot), wipe fresh splatters with a damp cloth.
- Use a sheet pan under bubbly casseroles or a silicone oven liner on a rack (never on the oven floor; it can block airflow and trip sensors).
- Monthly mini-clean: 15 minutes of steam + quick wipe keeps carbon from forming.
- Mind your oils: Excess oil at high temperatures can smoke and varnish onto surfaces.
When You Need More Guidance
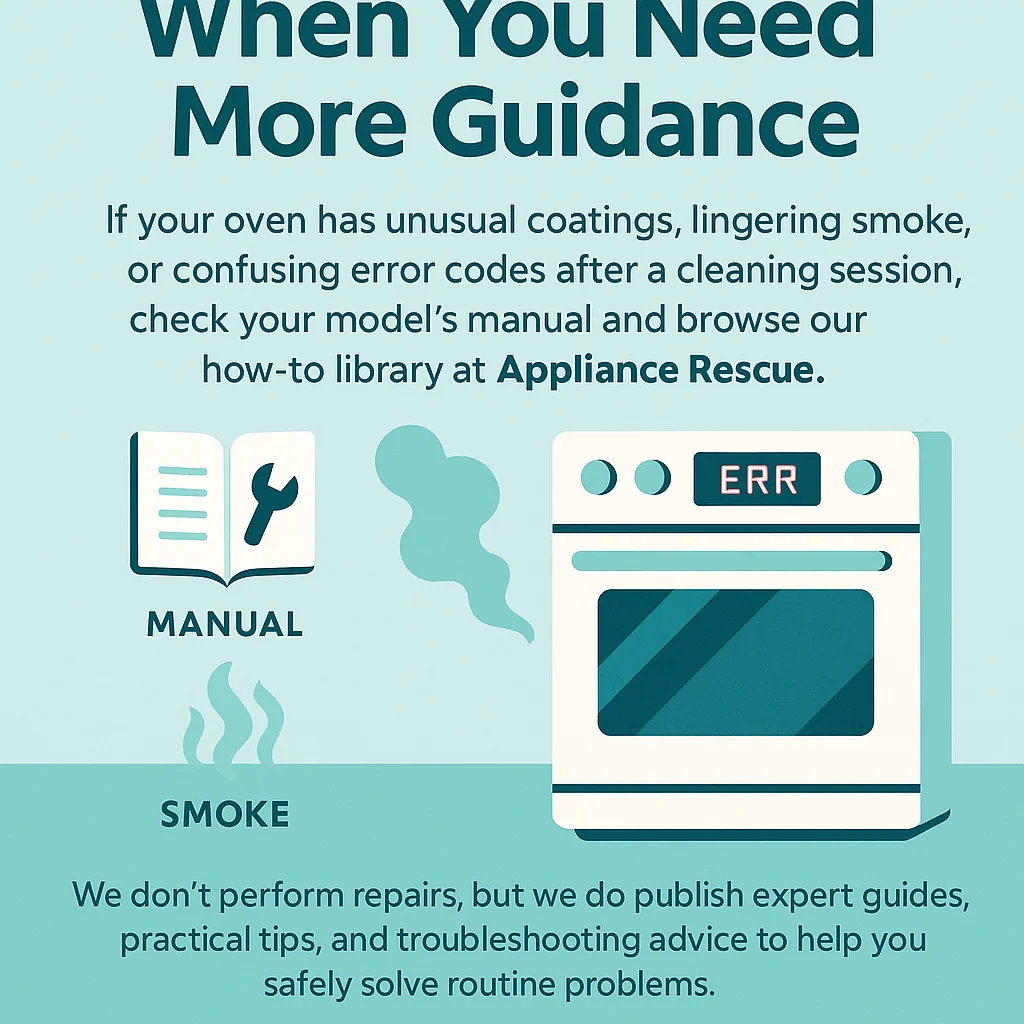
If your oven has unusual coatings, lingering smoke, or confusing error codes after a cleaning session, check your model’s manual and browse our how-to library at Appliance Rescue. We don’t perform repairs, but we do publish expert guides, practical tips, and troubleshooting advice to help you safely solve routine problems. Still stuck? Contact us—we’re happy to point you to the right resource.
At-a-Glance: Do/Don’t List
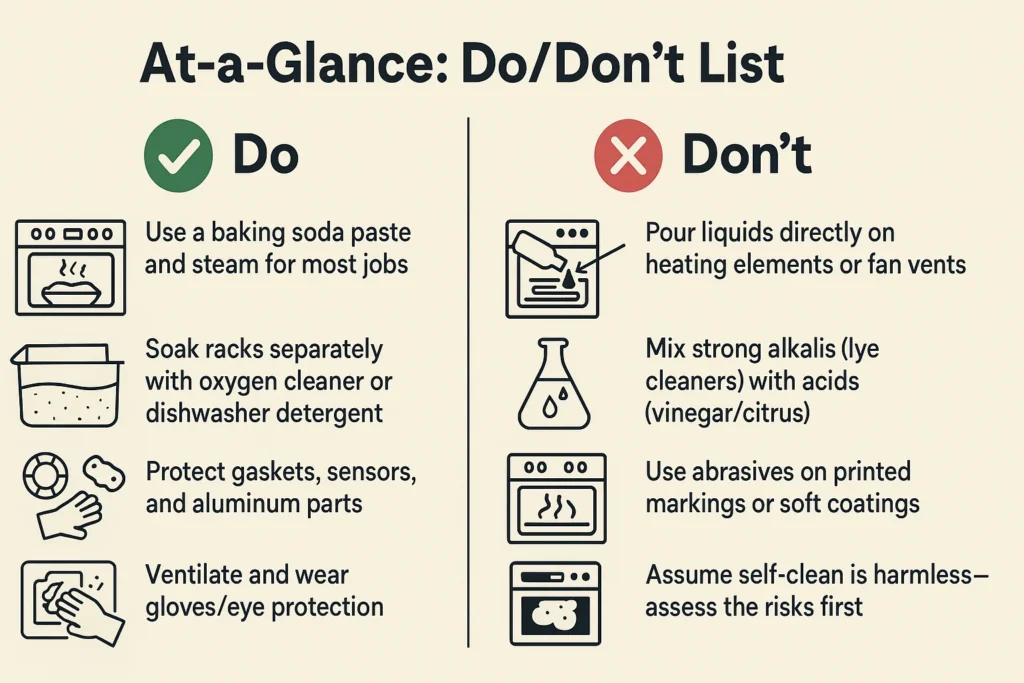
Do
- Use a baking soda paste and steam for most jobs
- Soak racks separately with oxygen cleaner or dishwasher detergent
- Protect gaskets, sensors, and aluminum parts
- Ventilate and wear gloves/eye protection
Don’t
- Pour liquids directly on heating elements or fan vents
- Mix strong alkalis (lye cleaners) with acids (vinegar/citrus)
- Use abrasives on printed markings or soft coatings
- Assume self-clean is harmless—assess the risks first
Clean oven, clearer air, better food. With the right method—and a little patience—you can get professional-level results without harsh chemicals or gadget gimmicks.