

Keep Your Garbage Disposal Jam-Free and Sharp: Essential Care Tips
If your garbage disposal hums, stalls, or smells like last week’s leftovers, the fix is often less complicated than it seems. With a few smart habits—and a clear sense of what never belongs in the unit—you can keep it running smoothly for years. Below is your practical guide to preventing jams, avoiding damage, and using gentle, natural cleaners that restore performance without resorting to harsh chemicals.
Note: The site Appliance Rescue does not offer repair services. It publishes expert guides, appliance tips, and troubleshooting advice (like this one). If you have questions about this guide, feel free to Contact us.
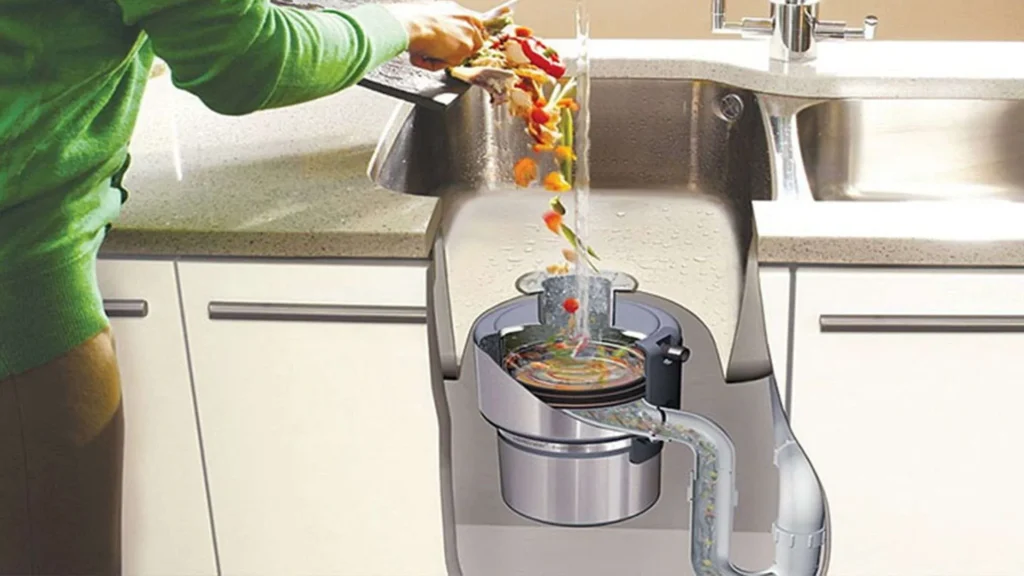
The Quick Anatomy (and a Blade Myth to Retire)
Despite how we talk about “blades,” most modern disposals use blunt impellers mounted on a spinning plate. They fling food against a stationary grind ring, where it’s pulverized. There aren’t razor-sharp blades to keep honed like a knife. When people say they’re “sharpening” the disposal, they’re really restoring grinding effectiveness by clearing residue and scouring the grind chamber so the impellers spin freely and the ring can do its job.
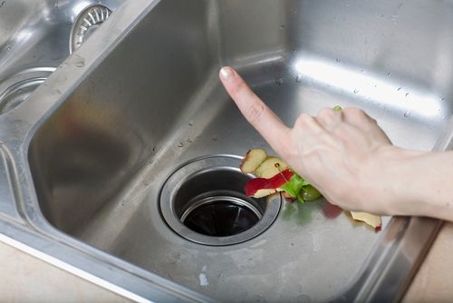
What Not to Put Down the Disposal
Think “small, soft, and cold-water friendly.” Anything else? Probably the trash or compost.
1) Fibrous, stringy, or tough plant matter
- Celery strings, corn husks, artichoke leaves, leek greens
- Banana peels and pineapple cores
These wrap around impellers and jam the motor.
2) Starchy clogs-in-waiting
- Potato peels, large amounts of mashed potatoes
- Pasta, rice, oatmeal
They swell into a paste that coats the chamber and drains.
3) Fats, Oils, and Grease (FOG)
Even liquid hot grease cools into a sticky film that narrows the drain and traps odors.
4) Hard objects
- Bones (except tiny, soft poultry fragments—still best avoided)
- Fruit pits, shells, aquarium gravel
They can stall the motor and scar the grind ring.
5) Coffee grounds and eggshells
Grounds accumulate like sediment and invite clogs. Eggshell membranes can't tangle with other debris.
6) Non-food items
Glass, plastic, twist ties, foil, produce stickers—any small non-food item can wedge into places you don’t want.
7) Harsh chemicals
Drain openers and bleach-based heavy cleaners can damage seals, splash guards, and metal components. Stick to the natural methods below.
Everyday Habits That Prevent Jams
- Use cold water, generously. Run a strong stream before, during, and 20–30 seconds after grinding. Cold water keeps fats solid, so they move along instead of melting and coating parts.
- Feed small batches. Don’t pack the chamber; add food gradually while the water is running.
- Right-size scraps. Cut long fibers and large pieces to thumb-size.
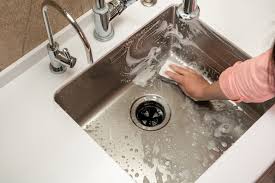
- Rinse the splash guard. Food films collect on the rubber baffle; pull it up (if removable) and scrub both sides weekly.
- Finish with a rinse. After grinding, keep water running briefly to flush residue into the main drain.
The Best Natural Cleaning Methods (No Harsh Chemicals)
Use these monthly (or more often if you cook a lot). Rotate methods to cover both deodorizing and scouring.
1) Baking Soda + Vinegar Foam Cleanse
- Turn the disposal off.
- Pour ½ cup of baking soda into the drain.
- Add 1 cup of white vinegar. Let it fizz for 5–10 minutes.
- Rinse with very hot water for a minute; then run the disposal with cold water to flush.
Why it works: The foam loosens gunk on the grind ring and walls; the hot-water rinse moves it along.
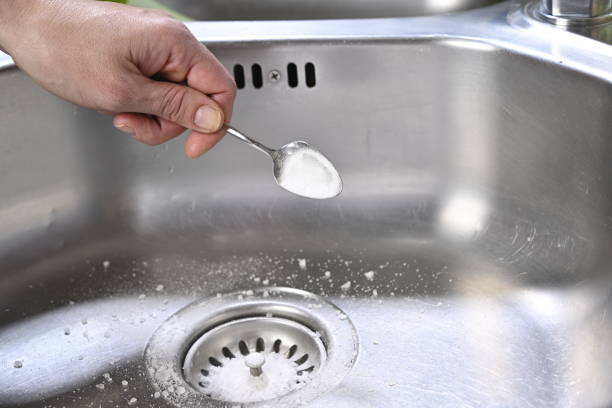
2) Ice + Coarse Salt Scour
- Fill the chamber with a tray of ice cubes.
- Add ¼ cup coarse salt (rock or kosher).
- Run cold water and switch on the disposal until the ice is gone.
What this really does: It doesn’t “sharpen blades”; it scours sticky residue and knocks off buildup that dulls performance.
3) Frozen Vinegar Cubes (Deodorize + Scour in One)
- Freeze white vinegar in an ice tray (optional: a pinch of salt in each cube).
- Grind the cubes with cold water.
This combines a mild acid deodorizer with the mechanical scrubbing of ice.
4) Citrus Refresh (Final Touch)
Grind small pieces of orange, lemon, or lime peel with cold water. Citrus oils help freshen the chamber. (Avoid sending whole fruits or thick pith; size them modestly.)
5) Enzyme Cleaner (Monthly Maintenance)
An enzyme-based drain product can help digest organic films in the drain line. Follow the label and use at a different time from vinegar (acids inactivate enzymes).
“Sharpening” Performance: The Real Playbook
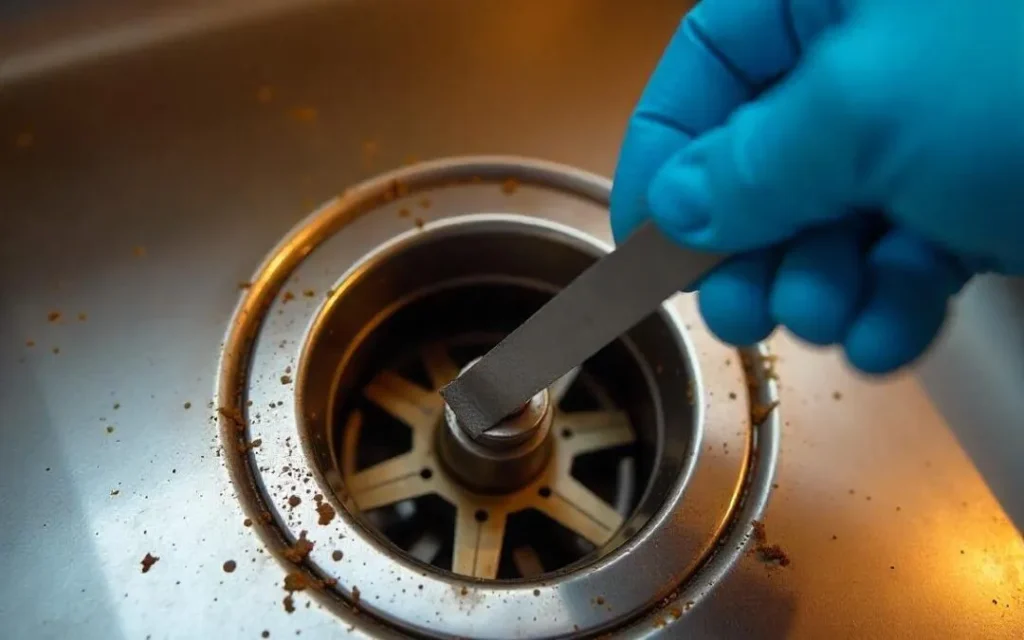
Because there aren’t knife-like blades, focus on free movement and clean contact surfaces:
- Do an Ice + Salt Scour followed by a hot-water flush.
- Clean the splash guard thoroughly (top and underside).
- If the unit grinds sluggishly, do a Baking Soda + Vinegar treatment, then a short ice grind to finish.
- Keep using cold water during operation; do a brief hot rinse after you switch the unit off.
These steps restore the crisp grinding action that people associate with “sharp” blades.
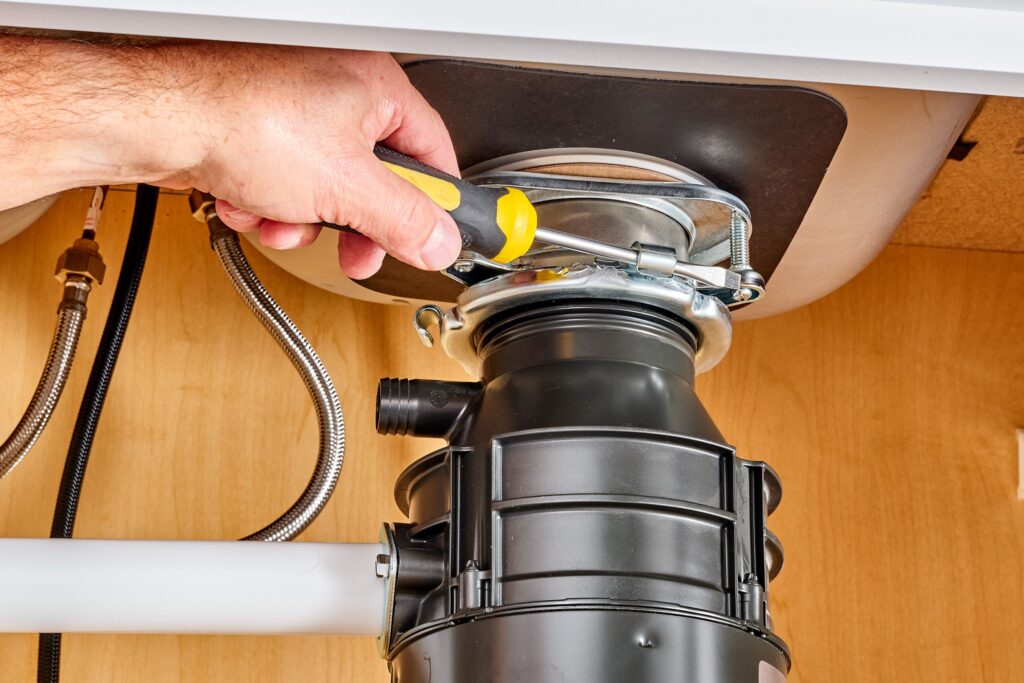
Safe Unjamming Steps (Before You Call for Help)
- Cut power. Switch the unit off; if possible, unplug it or trip the sink’s dedicated breaker.
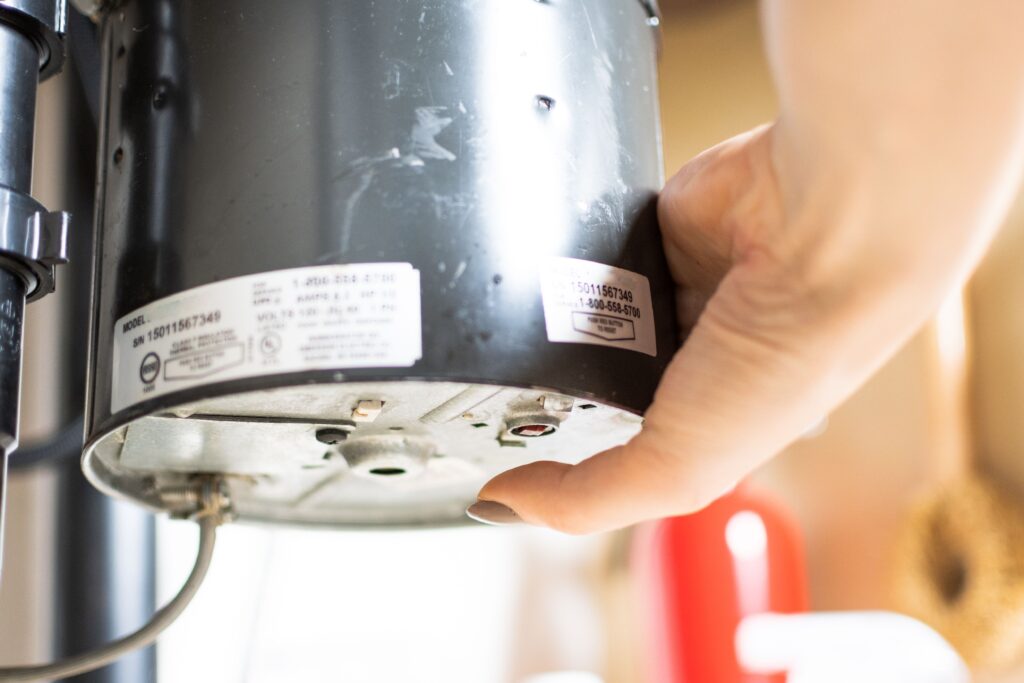
- Use the reset. Press the red reset button on the bottom of the unit.
- Free the flywheel. Insert the included hex (Allen) wrench into the bottom center socket and turn back and forth until it spins freely.
- Remove visible obstructions. Use tongs or pliers (never hands) from the sink opening.
- Restore power and test with cold water running and a small soft load (e.g., a few ice cubes).
If the motor only hums or trips again, stop. Persistent jams may indicate a lodged object, failing bearings, or electrical issues.
Odor Troubleshooting Quick Guide
- Sour or musty? Food film on the splash guard—scrub it with dish soap and a small brush; follow with baking soda + vinegar.
- Rancid or oily? FOG buildup—do an ice + salt scour, then avoid sending grease down the drain.
- Persistent smell after cleaning? Consider an enzyme treatment for the drain line, not just the chamber.
Long-Term Care & Usage Checklist
- Run cold water before/during/after every grind cycle.
- Avoid: stringy fibers, big starch loads, FOG, coffee grounds, eggshells, pits, bones, and non-food items.
- Monthly: natural clean (rotate methods), splash-guard scrub.
- Seasonally: check for leaks, inspect the air gap (if present), verify the reset still clicks, and listen for new rattles.
When It’s Time to Replace
Signs include frequent resets, water leaks from the housing, persistent humming with no grind, or visible corrosion. If your unit is very old (10–12+ years), a replacement may be more cost-effective and efficient.
Again, for guidance—not service booking—browse the articles at Appliance Rescue or send questions via Contact us.
Bottom Line
Garbage disposals stay “sharp” by staying clean, scoured, and well-flushed. Feed them the right scraps, in the right amounts, under a cold-water curtain; rotate a few gentle cleaning rituals; and handle jams with safe, methodical steps. Do that, and you’ll keep the grind smooth and the sink fresh, no plumber’s bill required.