

Choosing the Correct Breaker and Wire for an Induction Cooktop (Homeowner Guide)
Induction is the cooking world’s quiet overachiever—fast, efficient, and precise. But before you click “Buy,” you’ll want to make sure your electrical system is ready. This guide walks homeowners through breaker sizing, wire gauges, and practical install decisions so your new cooktop runs safely and at full performance. We’ll keep it plain-English, note where codes commonly apply, and flag the spots where a licensed electrician is worth every penny.
Quick note: Appliance Rescue doesn’t offer repair services. We publish Expert Guides, Appliance Tips, and Troubleshooting Advice to help you plan, install, and use appliances with confidence. If you need local trade help, consult a licensed electrician in your area.
1) Start with the Nameplate: Power Drives Everything Else
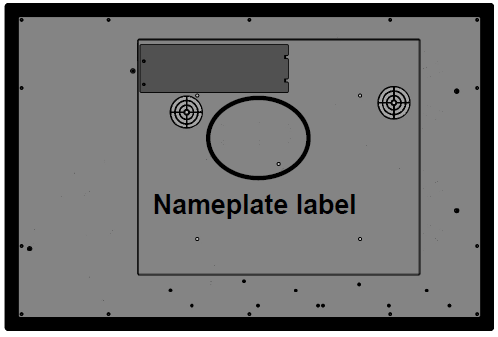
Every induction cooktop has a nameplate rating (often in watts or kW) and a voltage requirement. These two details dictate breaker size, wire gauge, and whether you can reuse an existing circuit.
- Portable single-zone units: commonly 120 V, 1,500–1,800 W (about 12–15 A).
- Built-in 2–4 burner cooktops: typically 240 V (North America), 3.0–7.2 kW.
- Larger 5- or 6-zone models / rangetops: may reach 8–11 kW and need heavier circuits.
If the manual lists a minimum circuit ampacity (e.g., 30 A), that’s your starting point. When in doubt, follow the manufacturer’s specified breaker and conductor sizes—those instructions are designed to keep both the appliance and wiring within safe temperature limits.
2) Common Breaker Sizes for Induction Cooktops

While exact requirements vary by model, the following are typical in North America:
- 120 V portable unit → 15 A breaker on a standard small-appliance branch circuit (often shared, but check instructions).
- Standard 24–30" built-in (3–7 kW) → usually 30 A or 40 A, 240 V dedicated circuit.
- High-power or wider 36"–48" models (7–11 kW) → often 40 A or 50 A, 240 V dedicated circuit.
Dedicated circuit? For built-ins, yes. The cooktop shouldn’t share a circuit with receptacles or other appliances unless the manufacturer explicitly allows it.
Double-pole breaker: Because most built-in cooktops are 240 V, you’ll need a two-pole breaker that ties the two hot legs together for simultaneous trip.
3) Choosing the Right Wire Gauge (Copper)
As a rule of thumb for copper conductors in typical residential installations:
- 15 A → 14 AWG
- 20 A → 12 AWG
- 30 A → 10 AWG
- 40 A → 8 AWG
- 50 A → 6 AWG
If using aluminum conductors (less common for branch circuits), sizes must be larger for the same ampacity—your electrician will upsize accordingly.
Length matters: Very long runs (e.g., panel to kitchen on the far side of the house) can suffer voltage drop. For runs over ~75–100 ft (23–30 m), consider upsizing the wire to reduce drop and keep performance snappy.
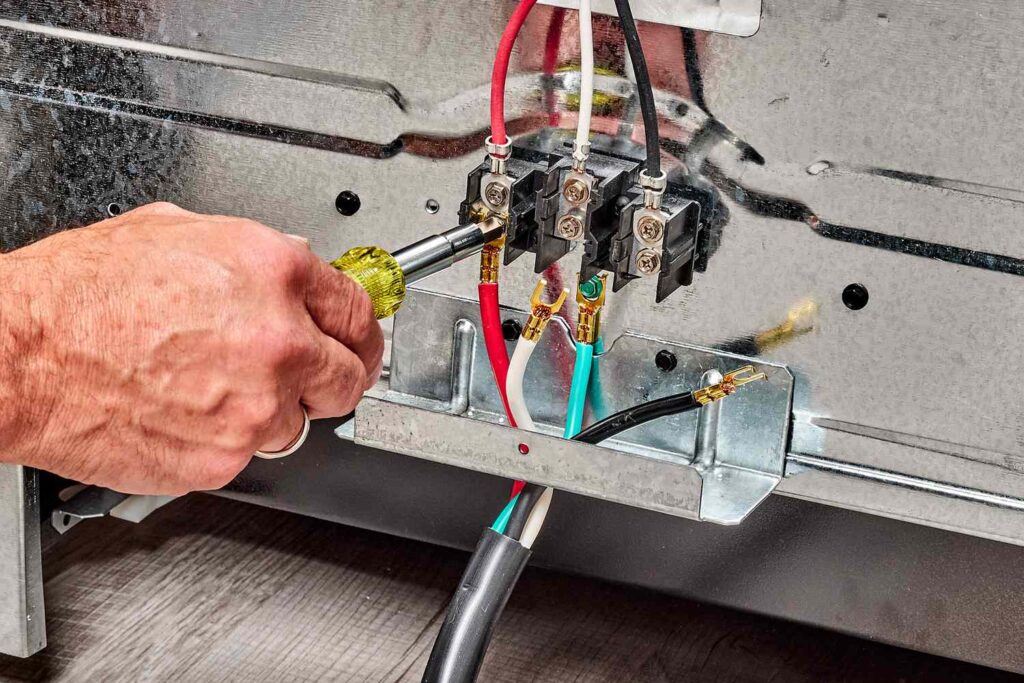
4) 3-Wire vs 4-Wire: What Your Cooktop Likely Expects
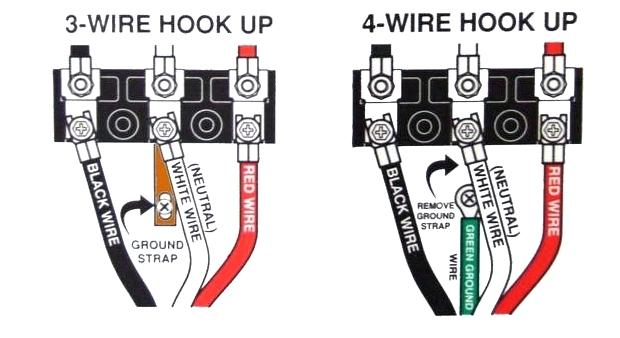
Modern 240 V kitchen appliances generally require a 4-wire branch circuit: hot 1 (red), hot 2 (black), neutral (white), and equipment ground (green/bare). This arrangement separates neutral from ground for safety.
- New installs: Plan on 4-wire.
- Older homes with 3-wire range circuits: Do not assume reuse is allowed. Many manufacturers require a neutral for electronics, displays, and low-voltage controls. Upgrading to 4-wire is often the correct path.
5) GFCI and AFCI: Do You Need Them?
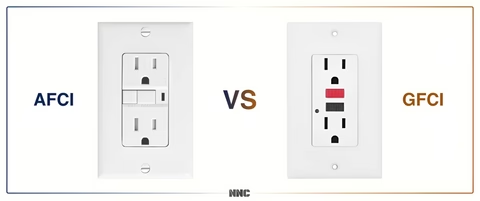
Electrical safety requirements evolve. In many jurisdictions:
- GFCI protection is increasingly required for 240 V receptacles in kitchens and for outlets within a certain distance of sinks. For hard-wired cooktops, local rules vary—some areas require a GFCI breaker, others don’t.
- AFCI protection (arc-fault) is commonly required on many residential branch circuits, including kitchen circuits in some regions.
Because local amendments differ and standards update over time, the simplest approach is to ask your electrician to provide whatever combination of GFCI/AFCI protection your local code and the manufacturer specify.
6) Load Calculations: Why the 80% Rule Isn’t the Whole Story
You’ll often hear the “80% rule” (continuous load at 125% of current). Cooking equipment is typically not a continuous load in the code sense, but diversity factors and demand loads can still matter for service sizing.
For the individual branch circuit, follow the manufacturer’s minimum circuit ampacity and breaker guidance. For whole-home service calculations (will a new 50 A cooktop overload a 100 A service?), an electrician can perform a load calculation using nameplate ratings and demand factors to confirm capacity before you buy.
7) Hard-Wired vs Plug-In: Planning the Connection
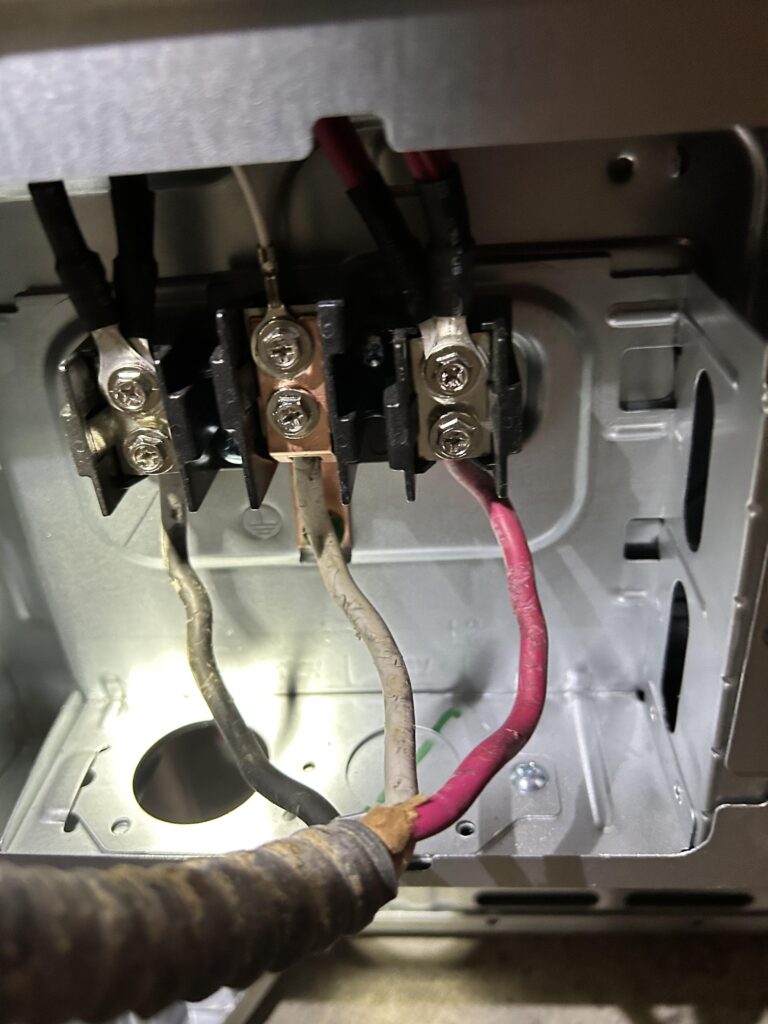
- Hard-wired (most built-ins): The cooktop junction box connects to your in-wall cable (e.g., 8/3g for 40 A). Keep the junction box accessible (usually in the adjacent cabinet).
- Plug-in (some models): May use a NEMA 6-50 or 6-30 receptacle. The receptacle and breaker must match the plug rating. Never downsize a breaker to fit existing wire if the appliance requires more; instead, upgrade the wire and device properly.
Bend radius & slack: Leave adequate conductor slack and respect bend radius so service techs can pull the unit out without straining connections.
8) Can You Use an Existing Electric Range Circuit?

If you’re replacing a traditional radiant or coil cooktop:
- Check the existing breaker size and wire gauge.
- Verify 4-wire availability; many older circuits are 3-wire.
- Confirm that the breaker type (standard, GFCI, AFCI, or combo) matches local rules and the manufacturer’s instructions.
Sometimes a prior 50 A range circuit is acceptable for a 40 A cooktop (with appropriate overcurrent protection and wire size). Other times, a new run is cleaner, safer, and avoids messy patchwork.
9) Installation Checklist (Homeowner-Friendly)
- Confirm the model’s nameplate: voltage, kW, and minimum circuit ampacity.
- Select breaker size to match the manufacturer’s guidance.
- Choose conductor size (e.g., 10 AWG Cu for 30 A; 8 AWG Cu for 40 A; 6 AWG Cu for 50 A).
- Use a 4-wire circuit (hot/hot/neutral/ground) unless your manual explicitly states otherwise.
- Decide on GFCI/AFCI based on local code and manual—often done via a specialized breaker.
- Plan junction box location for accessibility (adjacent cabinet is common).
- Check cabinet cutout and clearance specs so the cooktop can breathe and vent.
- Consider voltage drop if the panel is far away—upsize wire if needed.
- Label the breaker clearly (“Induction Cooktop – 240 V – 40 A”).
- Document everything (photos, wire type, breaker model). Future you—and future technicians—will thank you.
10) Safety, Permits, and When to Call a Pro
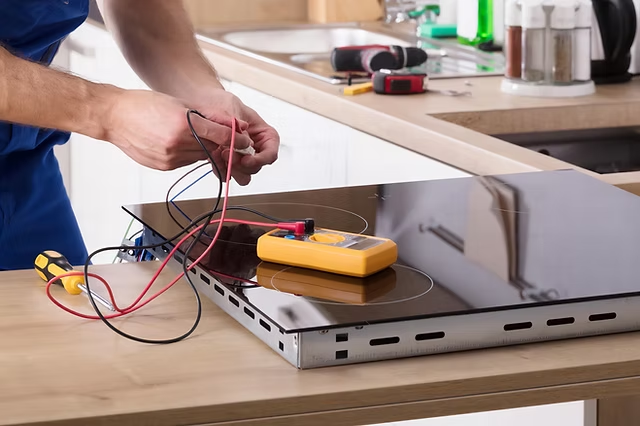
Electrical regulations vary by city, province/state, and utility. Even if you’re comfortable with basic wiring, permits and inspections may be required, and panel work should be handled by a licensed electrician. The right pro will:
- Validate service capacity (100 A vs 200 A, etc.).
- Install the correct breaker type (GFCI/AFCI if required).
- Pull properly sized copper conductors and terminate them safely.
- Test operation and verify that clearances and ventilation meet the manual.
If you’re unsure at any step, reach out—we’re happy to point you in the right direction or help you interpret a spec sheet. Contact us.
11) The Bottom Line
Induction cooktops are remarkably efficient, but they demand the right electrical backbone. Read the nameplate, size the breaker and wire to match, plan for a 4-wire circuit, and follow local safety requirements. Do that, and you’ll get the speed, control, and reliability induction is famous for—without tripping breakers or overheating wires.
And remember, Appliance Rescue is here for Expert Guides, Appliance Tips, and Troubleshooting Advice—not in-home repairs. Use this guide to plan confidently, and bring in a licensed electrician to execute the details.