

How to Fix a Leaking Washer: Step-by-Step DIY Guide
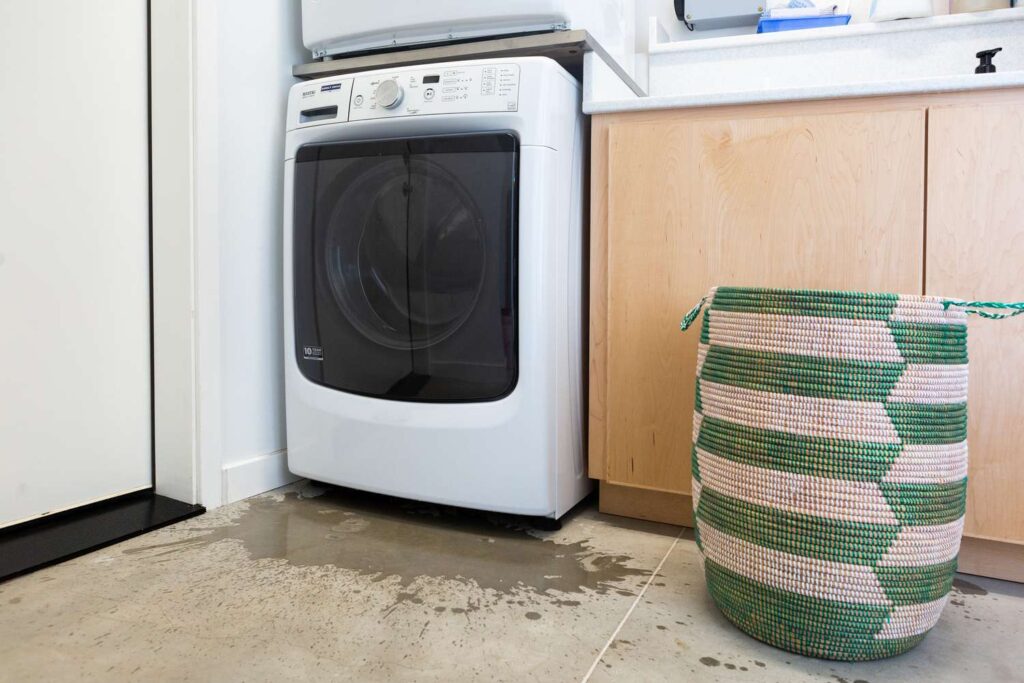
A leaking washing machine can quickly turn your laundry room into a flooded mess. Fortunately, many washer leaks can be identified and resolved without calling a professional. This guide will help you troubleshoot and fix a leaking washer step by step.
Common Causes of Washer Leaks
Before you grab your toolbox, it’s important to locate the source of the leak. Here are the most common culprits:
- Worn Door Seal (Front-Load Washers):
The rubber gasket around the door can become cracked or moldy over time, leading to leaks during wash cycles. - Loose or Damaged Hoses:
Inlet and drain hoses are common sources of leaks. Cracks, loose connections, or burst hoses can easily spill water. - Faulty Water Pump:
The water pump circulates and drains water. If it's cracked or its seals are damaged, leaking will occur underneath the machine. - Overloaded Washer:
Stuffing your washer to the brim can unbalance the load, cause excess movement, and lead to water spilling over the tub. - Detergent Overuse:
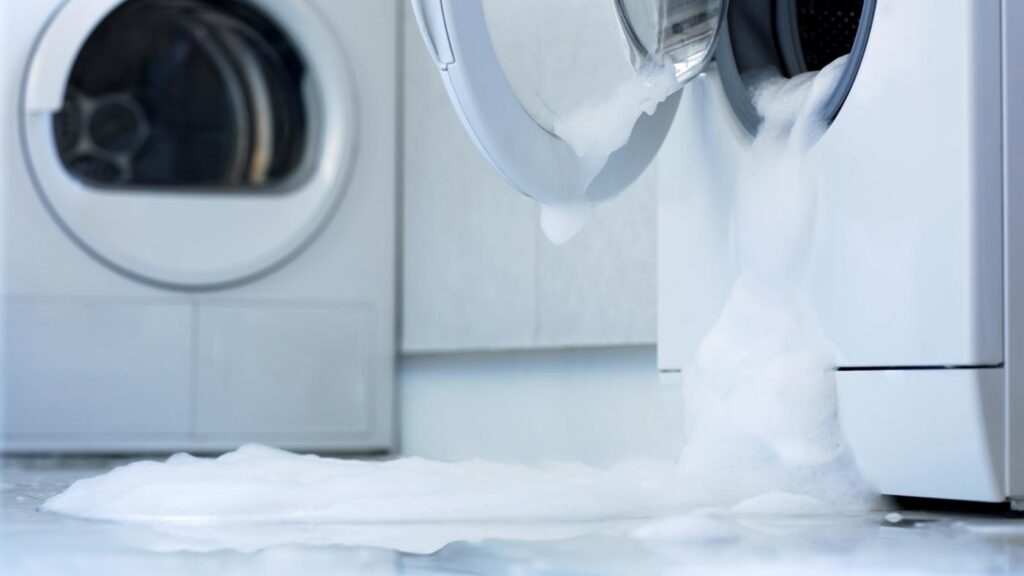
Using too much detergent, especially non-HE soap in HE machines, causes excessive suds that can leak out during rinse cycles.
How to Fix a Leaking Washer: Step-by-Step
Step 1: Unplug the Washer
Safety first. Unplug the machine and shut off the water supply valves behind the washer.
Step 2: Inspect Hoses and Connections
Check the hot and cold water inlet hoses and the drain hose. Look for cracks, bulges, or loose fittings. Tighten connections or replace damaged hoses.
Step 3: Examine the Door Seal (Front-Load Washers)
Open the washer door and inspect the rubber gasket. If it’s torn, warped, or moldy, it may need cleaning or replacement.
To clean:
- Use a mix of vinegar and baking soda or a washer-safe mold cleaner.
To replace: - Purchase a compatible gasket, remove the retaining ring, and install the new seal following manufacturer instructions.
Step 4: Check the Water Pump
Remove the front or back panel of your washer, depending on the model, to access the water pump. If you see water pooling beneath it or visible cracks, it likely needs replacement.
Step 5: Level the Washer
An unbalanced washer can shake and leak. Use a level tool and adjust the washer’s feet to ensure it’s even.
Step 6: Use Proper Detergent
Make sure you're using the correct amount and type of detergent. Look for the HE symbol if you own a high-efficiency washer.
Step 7: Test the Washer
Once repairs are made, plug the machine back in, turn on the water, and run a short cycle to confirm the leak is fixed.
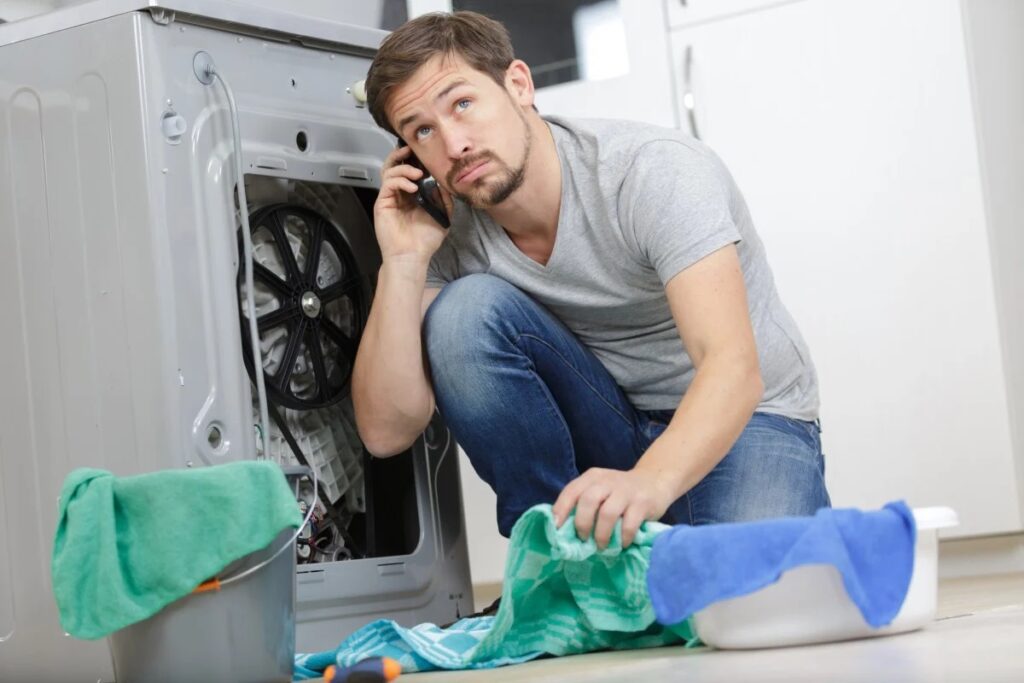
When to Call a Professional
If the leak persists after all these steps—or if you notice signs of electrical issues, significant rust, or internal component failure—it’s time to call a licensed appliance technician.
Final Tips to Prevent Future Leaks
- Regularly inspect and replace hoses (every 5 years recommended)
- Don’t overload the drum
- Clean the washer drum and seals monthly
- Ensure your machine is level and on a solid surface
Conclusion
Fixing a leaking washer is often a manageable DIY task that can save you time, money, and water damage. By understanding the common causes and following a structured troubleshooting approach, you can restore your washer to proper working order quickly and safely.