

A worn-out refrigerator door seal is a small problem with big consequences: warm air leaks in, cold air escapes, your compressor works overtime, and food safety becomes a dice roll.
The good news? Replacing a door gasket is one of the most approachable DIY fixes in the kitchen—no specialty skills required, just patience and the right steps. Below you’ll find a structured guide to diagnosing a bad seal, choosing the correct replacement, and installing it so your fridge runs efficiently again.
Note: Appliance Rescue doesn’t sell parts or offer repair services. We publish expert guides, tips, and troubleshooting advice to help you do it yourself. Have a question or topic suggestion? Reach out to us, or browse our latest blogs.
Quick Checks: Do You Really Need a New Seal?
Before you order parts, confirm the gasket is the culprit.
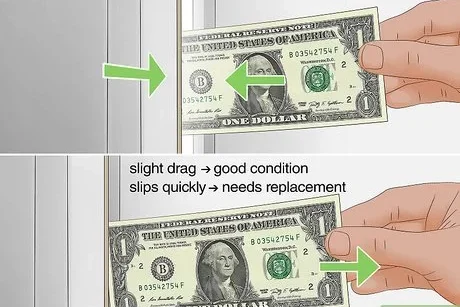
- Dollar-bill (paper) test: Close the door on a dollar bill at several points around the perimeter. If the bill slides out with little resistance, the seal is weak there.
- Flashlight test (nighttime): Place a small flashlight inside, close the door, and look for light leaks along the edges.
- Visual cues: Look for cracks, torn corners, flattened sections, or mold that doesn’t clean off.
- Frost or condensation: Excess frost in the freezer or sweating around the door frame often traces back to a leaking gasket.
If cleaning the gasket with warm, soapy water and gently warming warped areas with a hair dryer doesn’t restore the seal, it’s time to replace it.
Know Your Gasket: Types and How They Attach
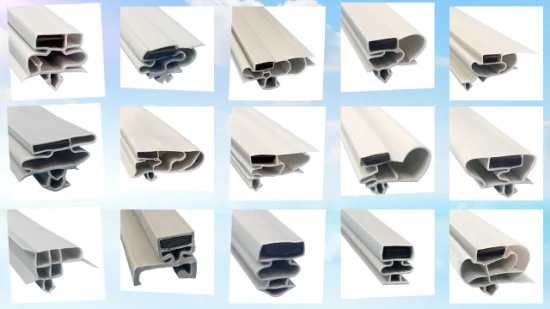
Most modern refrigerators use magnetic, hollow-tubular gaskets that attach in one of three ways:
- Screw-in retainer: A flexible inner lip hides a line of small screws around the door liner.
- Push-in (barbed/dart) style: The gasket’s rib presses into a channel.
- Snap-in with trim ring: Less common; the trim holds the gasket in place.
Your model may also have different gaskets for the fresh-food and freezer doors. Identify the attachment style before you begin.
Tools & Materials

- Replacement gasket (exact part for your model)
- Phillips screwdriver or nut driver (as needed)
- Plastic pry tool or a blunt butter knife wrapped in tape
- Hair dryer or heat gun on low (a hair dryer is safer)
- Mild dish soap and clean cloths
- Optional: small bowl of warm water to soften the new gasket
How to Get the Right Replacement Gasket
- Find your model number. Look inside the fridge, on a side wall just behind the door, or on the ceiling or floor kick plate.
- Search the exact part. Use the model number to locate the gasket designed for your door. “Universal” gaskets exist but can be hit-or-miss; exact parts fit better and save time.
- Check color and profile. Match the color (usually white, black, or gray) and confirm the cross-section looks identical to your original.
Prep: Flatten and Soften the New Gasket
Gaskets ship folded and can be wavy out of the box. Give yourself a head start:
- Lay it flat on a warm surface for an hour, or
- Soak it in warm (not hot) water for 5–10 minutes, then towel dry, or
- Gently warm stubborn kinks with a hair dryer (keep it moving; don’t overheat).
Step-by-Step Replacement
1) Power and Door Prep

- For safety, unplug the refrigerator or switch off its circuit. You won’t be touching live components, but it’s a good habit.
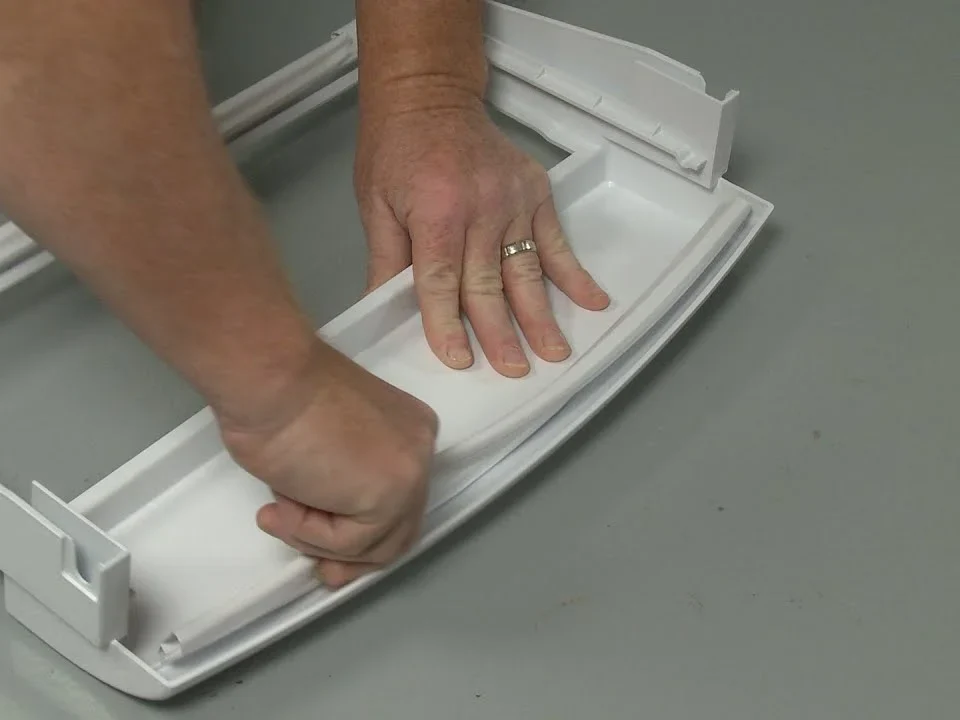
- Remove heavy door bins to lighten the door and reduce stress on hinges.
2) Remove the Old Refrigerator Door Seal
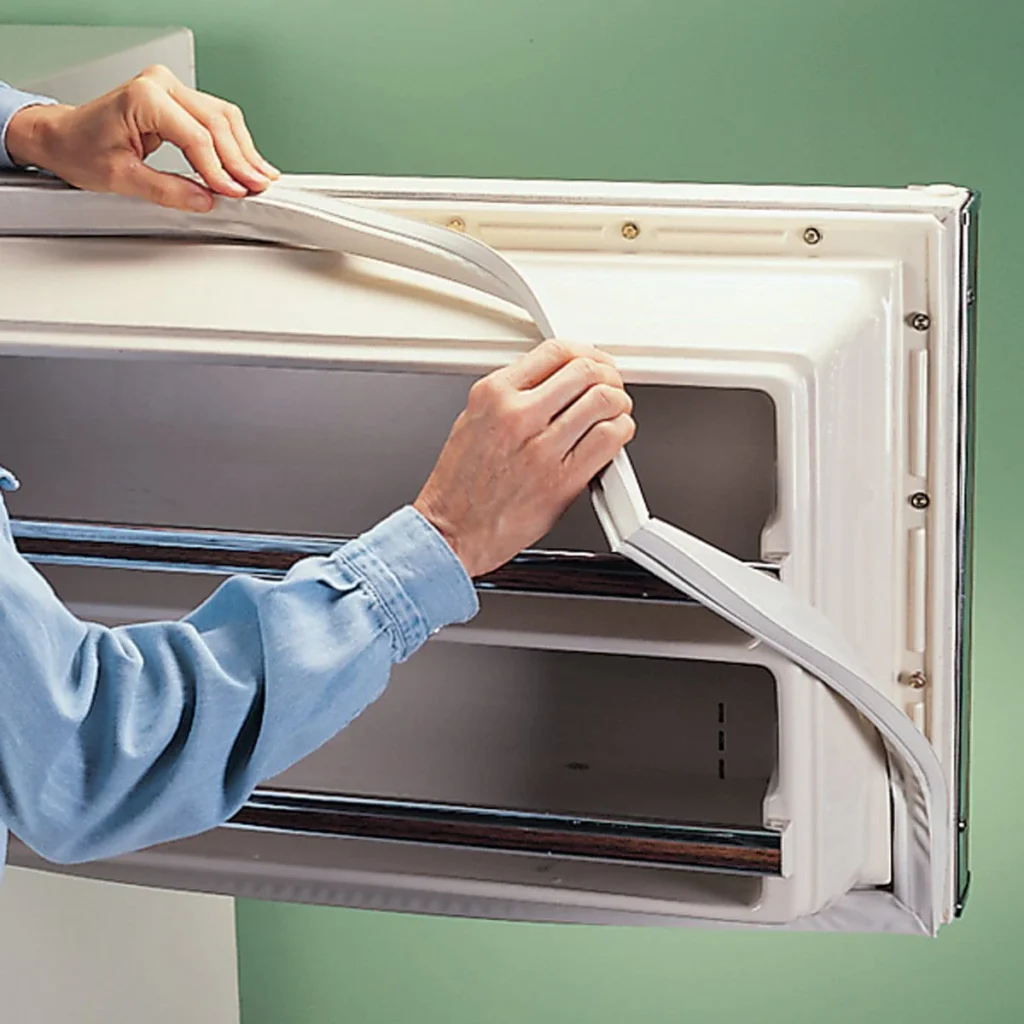
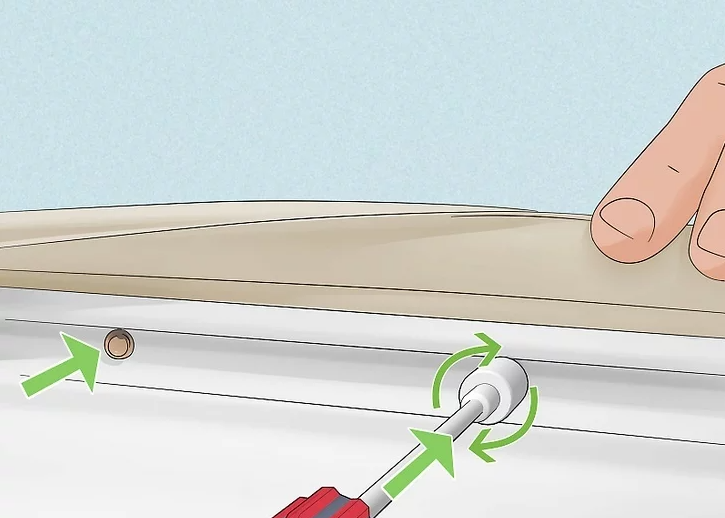
- Screw-in style:
- Gently peel back the inner refrigerator door seal flap to expose the fasteners.
- Loosen all screws about one turn (don’t remove them unless needed).
- Starting at a corner, slip the gasket lip out from under the retainer and work your way around.
- Push-in (barbed) style:
- Starting at a corner, pull the gasket’s rib out of the channel. A plastic pry tool helps if it’s stubborn.
- Inspect the door liner and channel. Clean away crumbs, grease, and old residue—clean surfaces seal better.
3) Fit the New Refrigerator Door Seal (Dry-Fit First)
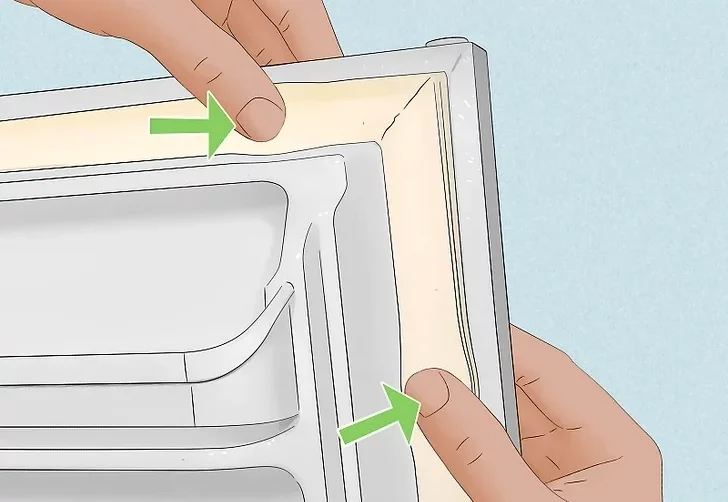
- Hang the new gasket loosely on the door to confirm orientation.
- Always start at the corners. Seat each corner first, then connect the runs between them. Corners are the leak-prone spots—get them perfect.
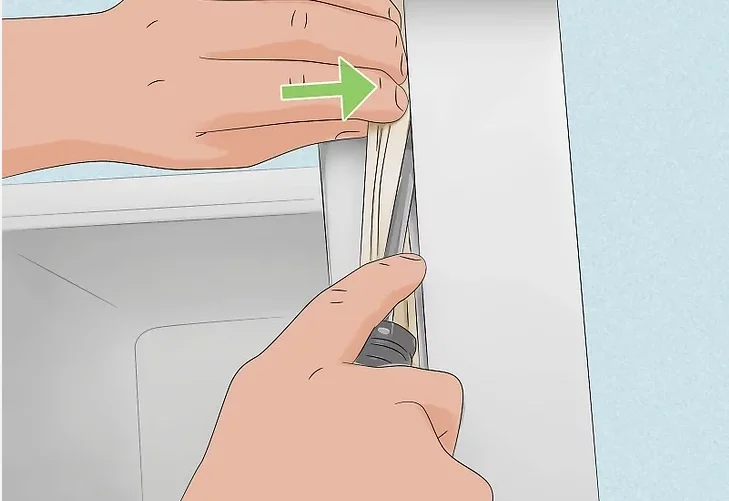
4) Secure the Refrigerator Door Seal
- Screw-in style:
- Tuck the inner lip under the retainer, working corner to corner.
- Lightly snug the screws. Do not over-tighten; you can warp the liner and create gaps. You’ll re-snug after shaping.
- Push-in style:
- Press the barbed rib evenly into the channel, again starting with corners.
- Use your thumb or a blunt tool to fully seat the rib without nicking the gasket.
5) Shape and Relax the Seal
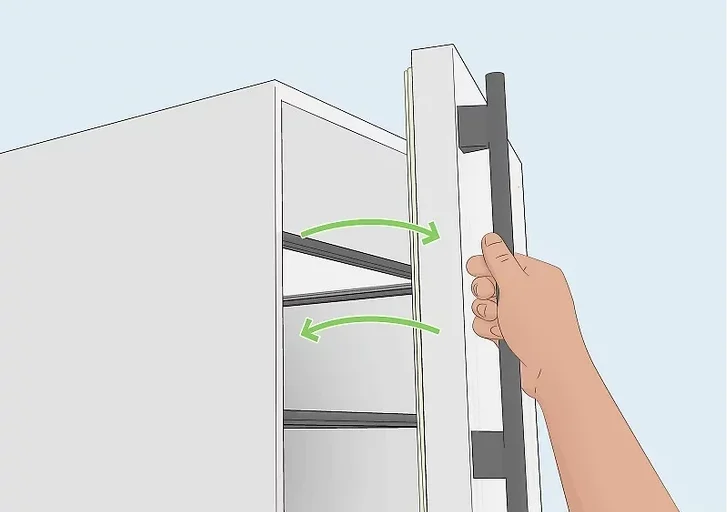
- Close the door and scan for waves or areas that don’t contact the cabinet.
- Open the door and warm those spots with a hair dryer while gently pulling/rolling the gasket into position.
- Close for several minutes to help the magnet conform. Repeat as needed around the perimeter.
6) Final Adjustments
- Re-snug any screws (still avoiding over-tightening).
- Check door alignment. If the door sags, loosen the upper hinge slightly, lift the door, and re-tighten. A level refrigerator helps doors close properly—adjust the front leveling feet if needed.
Common Pitfalls (and How to Avoid Them)
- Over-tightening screws: This distorts the plastic liner, introducing new gaps. Snug is enough.
- Skipping corner placement: Misaligned corners ripple into mid-span leaks. Always seat corners first.
- Using high heat: A heat gun on high can melt or deform the gasket. Stick to a hair dryer or low heat, keep it moving.
- Wrong part orientation: Some refrigerator door seal look symmetrical but aren’t. Match the original’s orientation before fully installing.
- Forcing a warped door to seal: If hinges are bent or the cabinet is out of level, even a perfect gasket won’t seal. Fix alignment first.
When to Call a Pro (and When Not To)

If the door is bent, the liner is cracked, or the hinges are badly worn, seal replacement alone won’t solve the leak. That said, many homeowners complete refrigerator door seal swaps in under an hour. If you’re unsure about part selection or a specific attachment style, explore the DIY resources at Appliance Rescue—we specialize in expert guides, appliance tips, and troubleshooting advice, not paid repair services. Want to suggest a guide or ask a question? Contact us and we’ll point you to the right resource.
Quick Reference Checklist
- Identify attachment style and exact part number
- Flatten/soften the new refrigerator door seal before installation
- Start at corners, then do the straight runs
- Avoid over-tightening—keep the liner flat
- Heat-shape gently; re-check with the dollar-bill test
- Level the fridge and adjust hinges if needed
With a careful install and a few thoughtful checks, your refrigerator will seal tight, run quieter, and use less energy—exactly what a good gasket is supposed to do.