

The Right Way to Read Appliance Error Codes (Common Pitfalls to Avoid)
Modern appliances are great at telling us when something’s wrong—often with a cryptic mix of numbers, letters, and blinking lights. These are diagnostic error codes, and they’re designed to speed up troubleshooting. Yet many owners misread or misuse them, which leads to wasted time, unnecessary parts, and sometimes unsafe attempts at repair.
This guide walks you through how error codes work, how to find them, the pitfalls that trip people up, and a clear, safe process to use them effectively. Importantly, note that Appliance Rescue provides Expert Guides, Appliance Tips, and Troubleshooting Advice—not hands-on repair services. If you need additional guidance after reading, feel free to Contact us.
Why Your Appliance Uses Error Codes
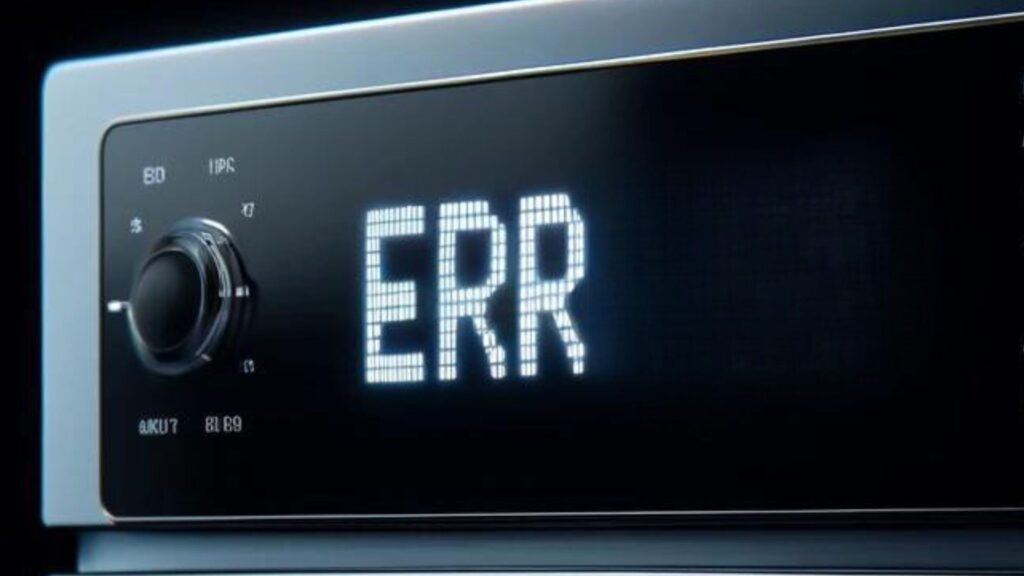
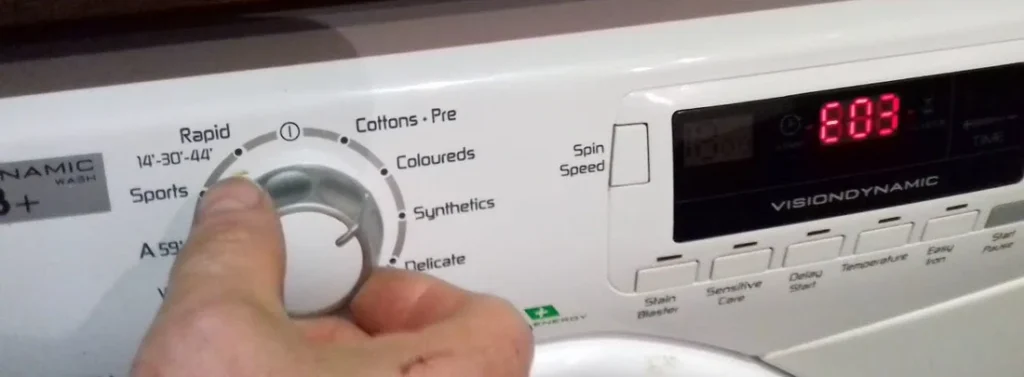
Error codes compress a lot of information into a tiny signal. A control board monitors sensors (temperature, water level, motor speed, door latches, and so on). When something falls outside expected ranges, the board records a fault and displays an alphanumeric code—like F21 on a washer or E15 on a dishwasher. Think of codes as pointers, not verdicts: they indicate where to look rather than what to replace.
Where to Find Your Model-Specific Codes
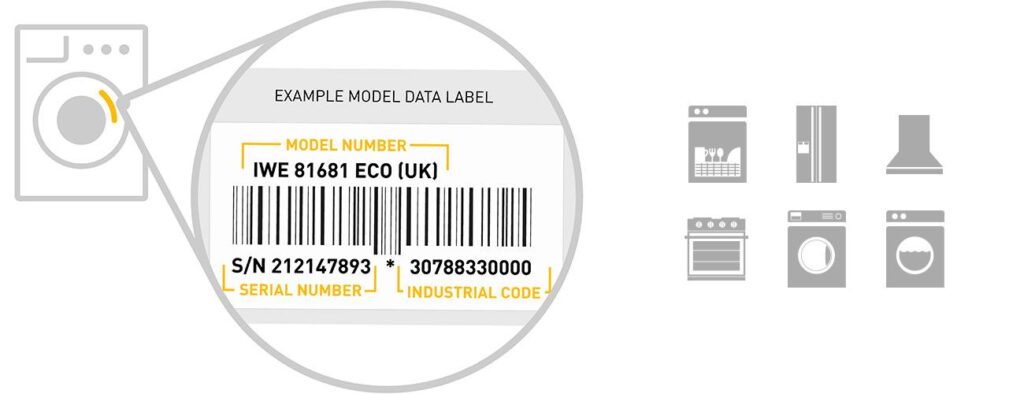
Before you can interpret a code, you need two things: the exact model number and the correct reference for that model.
- Model number
- Check the door frame, control panel rim, inside the detergent drawer, rear plate, or behind kick plates.
- Photograph the tag to avoid transcription errors (O vs 0, 5 vs S).
- Official documentation
- User manual and (ideally) a tech sheet. Tech sheets are sometimes tucked inside the appliance (e.g., behind the lower panel or inside the control console).
- Brand support sites provide PDF manuals searchable by model.
- Reputable guides—often summarize code meanings and step-by-step checks.
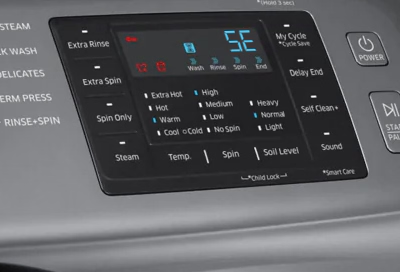
- Control panel diagnostics mode
- Many appliances store historical and current errors. Entering diagnostics (button combinations vary by brand) reveals additional context such as the sequence of faults, test cycles, or sensor readings.
The 12 Most Common Mistakes People Make with Error Codes
- Reading generic code charts instead of model-specific charts
Different series within the same brand may reuse code names but assign different meanings. A correct model number matters. - Ignoring the conditions for a code
Many codes only trigger after the appliance tries a few times to reach a setpoint (spin speed, water level, temperature). When is as important as the what. - Treating the code as a parts list
“Water level error” doesn’t automatically mean “replace the water level sensor.” Hoses, valves, wiring, blockages, or software can be culprits. - Overlooking basic power and connections
Loose plugs, tripped breakers, kinked hoses, or closed supply valves create a cascade of misleading codes. - Skipping visual inspection
Burn marks on connectors, cracked door latches, lint-packed vents, and clogged filters can explain many codes without a multimeter. - Not clearing old codes after a fix
Historical codes confuse future troubleshooting. Clear them according to the manual and see what (if anything) returns. - Misinterpreting intermittent errors
Some codes appear during rare conditions (low water pressure, overloading, line voltage dips). Track patterns before replacing parts. - Assuming all codes have a single cause
One fault can trigger another (e.g., a drainage issue causing a spin error). Address root causes first. - Neglecting maintenance items
Dirty condenser coils, clogged lint screens, and blocked air inlets can generate temperature or airflow codes. - Ignoring safety locks and door/cover sensors
Many machines won’t run tests if the door switch isn’t confirmed locked. That can generate misleading control errors. - Using third-party “code apps” without verifying
Data may be incomplete or out of date. Cross-check with manuals or reliable guides. - Forgetting that Appliance Rescue offers guides, not repairs
If a procedure exceeds your comfort level or involves gas, high voltage, or sealed systems—pause. Review our guidance on next steps and safety.
A Safe, Step-by-Step Method to Use Error Codes Properly

Step 1: Document the situation
Write down the exact code, the full model number, what the appliance was doing, and any noises/odors/lights. If there’s a sequence (e.g., fills → stalls → drains), note it.
Step 2: Check essentials
- Power: outlet, breaker, extension cords (avoid if possible).
- Water/gas supply: valves open, adequate pressure.
- Drains/vents: no kinks, clogs, or lint buildup.
- Filters and screens: clean as recommended.
Step 3: Look it up by model
Use the manual or a reliable guide. Confirm whether the code refers to a sensor, a communication issue, or a process timeout. Many codes include a timing threshold (e.g., “if water not detected within 8 minutes, raise E…”) that helps you target the right stage.
Step 4: Perform non-invasive checks first
- Visual inspection of harnesses and connectors.
- Ensure doors and latches engage properly.
- Remove obvious obstructions (coins in the pump trap, ice around the freezer fan shroud).
Step 5: Run diagnostics or a service test
Enter the unit’s diagnostic mode if available. Record stored codes, clear them, then run a test cycle to see which codes recur. One returning code is more actionable than five historical ones.
Step 6: Validate with simple measurements
- Continuity checks for fuses, door switches.
- Resistance for thermistors at room temperature vs spec.
- Voltage checks where the manual says it’s safe to do so.
If you’re unsure, stop here. High-voltage or gas-related diagnostics should be left to a qualified technician.
Step 7: Decide on the next move
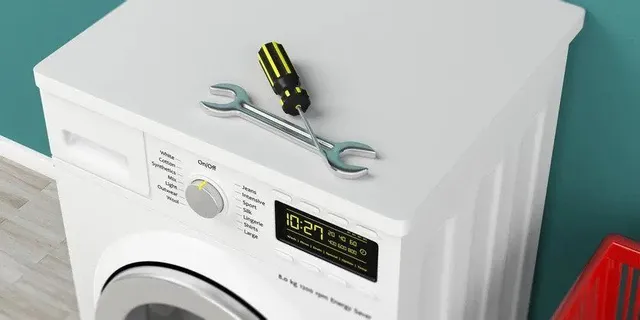
If the evidence points to a consumable part (filter, hose, belt) and the procedure is safe and within your ability, proceed carefully with the manufacturer's instructions. If you suspect control boards, sealed system work, or gas valves—document your findings and contact a professional.
Interpreting Error Codes: What They Often Really Mean
- Water inlet/fill errors (washers/dishwashers): Frequently, a closed valve, clogged inlet screens, or low water pressure—not a failed sensor.
- Drain errors: Blocked pump filters, kinked drain hoses, or debris in the impeller. A new pump won’t help if the trap is full.
- Thermal/overheat errors (dryers, ovens): Lint-packed vents or blocked airflow commonly cause overheating; clear ventilation before replacing thermostats.
- Door/lock errors: Misaligned doors, worn strike plates, or weakened springs can mimic switch failures.
- Communication/control errors: Loose harness connectors, moisture intrusion, or corrosion can trigger intermittent board-to-board faults.
Safety First: When to Stop and Reassess
- Gas smell or suspicion of a leak.
- Signs of arcing/burned connectors.
- Repeated breaker trips.
- Sealed system issues (refrigerant).
These are do-not-DIY scenarios. Power down (and shut gas/water where relevant), ventilate as needed, and seek a qualified professional.
Quick Myths vs. Reality
- Myth: “The code tells me the exact part to replace.”
Reality: It points to a system—you still need checks to find the culprit. - Myth: “If I clear the code, the problem is fixed.”
Reality: Clearing codes only resets the symptom. If the condition persists, the code will return. - Myth: “Any chart for my brand will work.”
Reality: Brands reuse code names differently across model families; always verify with your exact model.
A Handy Checklist You Can Use
- Recorded code(s), symptoms, and model number
- Verified power, water/gas supply, and drains/vents
- Consulted the model-specific manual or a trusted guide
- Performed safe visual checks and cleaning
- Entered diagnostics, cleared old codes, and reran tests
- Confirmed recurring code and matched it to a stage
- Decided: safe DIY step vs. professional service
- Documented findings for a technician if needed
When You Need More Help

If you’ve followed the steps above and still feel stuck, gather your notes (model number, exact code, and what you’ve tried) and reach out. We’ll point you to the right guidance articles or decision paths. Again, we don’t dispatch technicians or perform repairs, but we do provide expert advice to help you navigate the next steps.
Key Takeaway
Error codes are signposts, not shortcuts. Use them alongside a structured, safe diagnostic approach and model-specific documentation. Avoid the common pitfalls—especially the temptation to buy parts before testing—and you’ll save time, money, and a lot of frustration.