

How Often Should You Clean a Dryer Vent? Tools, Tips, and Safety Basics
Dryers move a surprising amount of air. Every load pushes warm, moist air—and lint—through a narrow duct to the outdoors. When lint accumulates, airflow drops, drying times creep up, and heat builds in places you don’t want it. The fix isn’t complicated, but it does require a plan, a few inexpensive tools, and some regular attention.
Note: Appliance Rescue publishes expert guides, appliance tips, and troubleshooting advice. They don’t provide repair services or dispatch technicians. If you have questions about this guide, use the Contact us page.
Why dryer vent maintenance matters

- Safety: Lint is highly combustible. Poor airflow means higher dryer temperatures and a greater chance of overheating.
- Performance: Clogged ducts force the dryer to run longer, wasting time and energy while wearing out heating elements and motors.
- Appliance life: Clean vents reduce strain on components, extending the service life of both gas and electric dryers.
How often should you clean a dryer vent?
Think in layers—some tasks every load, others monthly, and a full vent service at least annually.
Every load
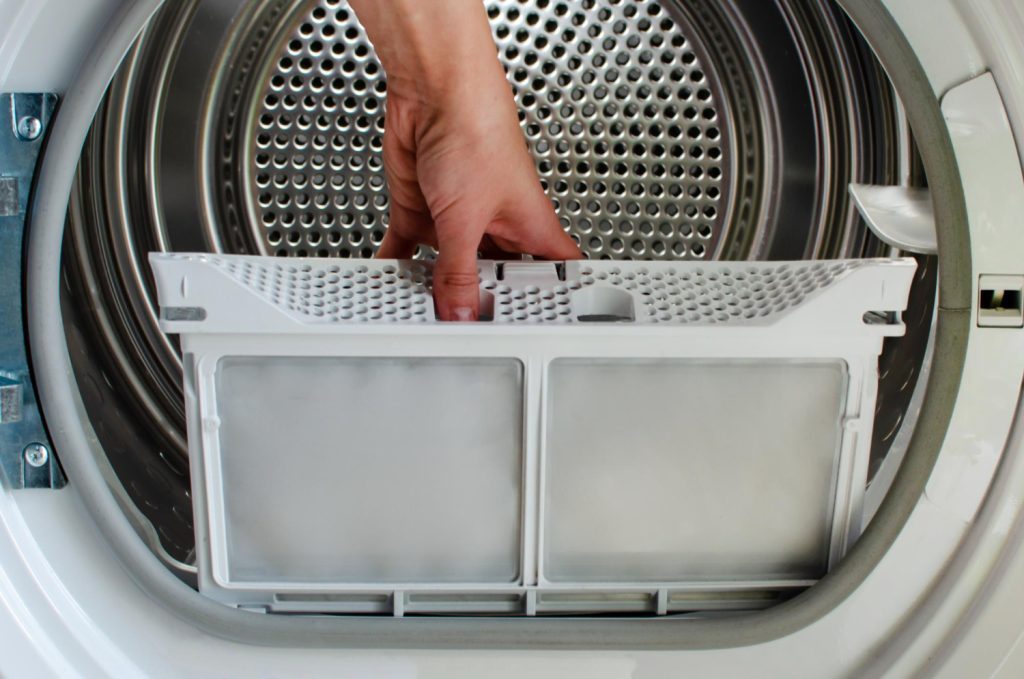
- Empty the lint screen.
- Check that the exterior vent hood flap opens freely when the dryer runs.
Monthly
- Rinse the lint screen with warm water and a drop of dish soap to remove fabric-softener film.
- Vacuum around and under the dryer to catch stray lint.
Every 6–12 months (full vent cleaning)
- Most homes do well with annual cleaning.
- Clean every 6 months if any of these apply:
- Large household or multiple loads per day
- Pets (more hair = more lint)
- Long or complex vent runs (more than ~10–12 m/35–40 ft equivalent length)
- Vent exits on a roof or high exterior wall that’s hard to monitor
Immediate cleaning is due if you notice:
- Longer drying times than usual
- Hot laundry room or a burning/linty smell while drying
- Condensation on windows or walls during cycles
- The outside hood flap barely opens or stays clogged with lint
- The dryer is hot to the touch or shuts off mid-cycle
The essential tools (what pros and savvy DIYers use)
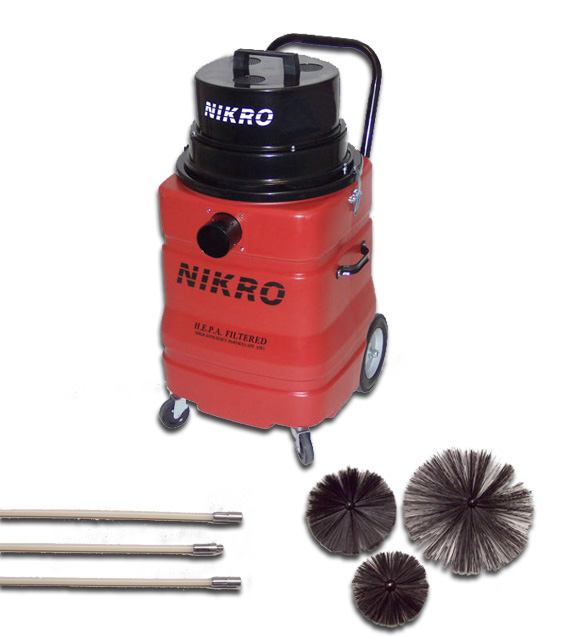
- Dryer vent brush kit with flexible rods
- Look for 4-inch (100 mm) brush heads and screw-together fiberglass rods (total reach 3–12 m).
- Many kits allow a drill to spin the brush; hand-turning works too.
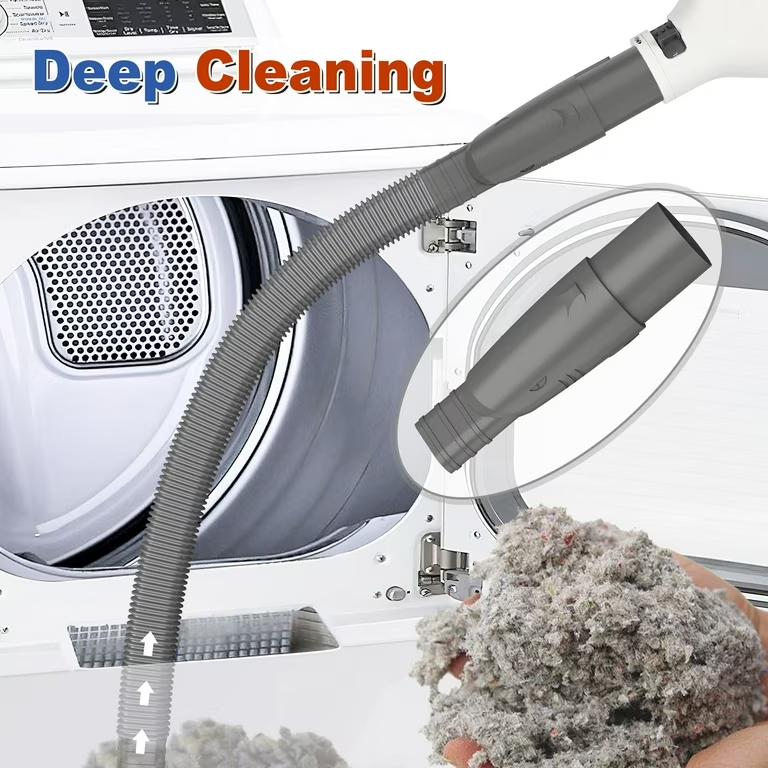
- Vacuum
- A shop vac with a crevice tool is ideal to capture loosened lint behind the dryer and at the wall/hood.
- Screwdrivers/nut driver
- To remove clamps and access panels.
- Foil HVAC tape (UL-listed)
- For sealing joints. Avoid cloth “duct tape”—it dries out and fails.
- Flashlight + inspection mirror
- To confirm the duct is clear, especially near bends.
- Replacement transition duct (if needed)
- Choose rigid or semi-rigid aluminum. Skip plastic or vinyl—they’re a fire risk.
- Keep the run as short and straight as possible.
- Exterior hood brush
- A small, stiff brush to clear the termination hood and bird guard.
Optional but useful:
- Drill driver to spin the rods through long runs
- Magnetic pickup tool (if a clamp screw goes missing behind the dryer)
- Manometer or airflow anemometer (advanced users) to verify airflow improvements
Step-by-step: deep-cleaning a dryer vent (90 minutes, typical)
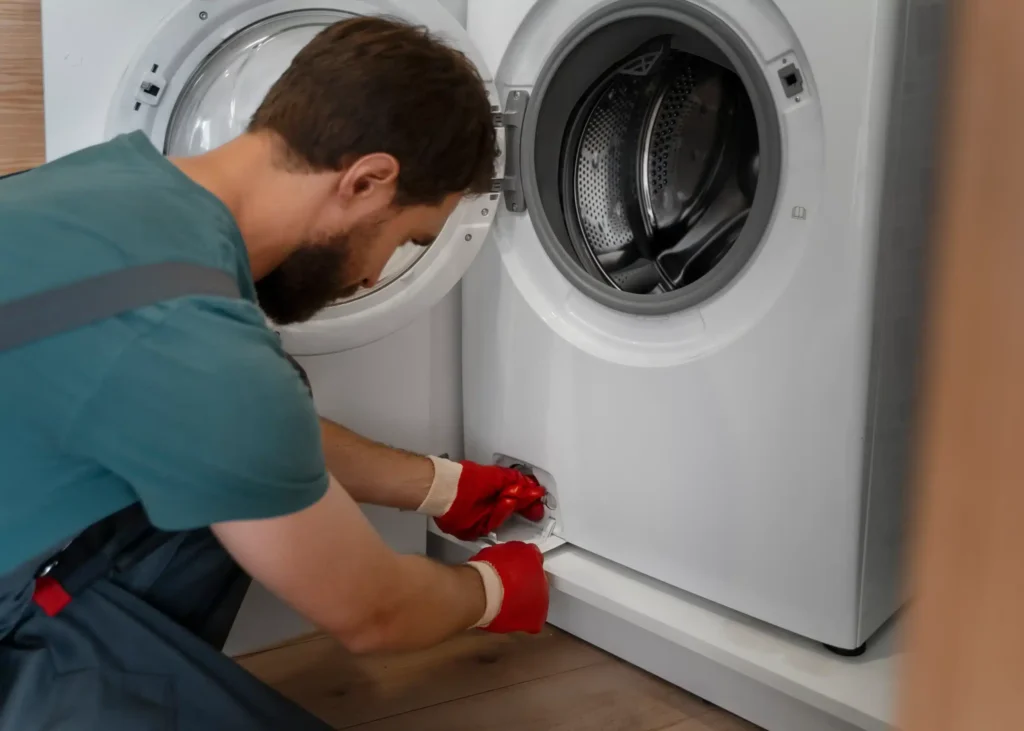
For gas dryers, turn off the gas supply and avoid stressing the gas line when moving the unit.
- Unplug and pull the dryer forward
- Give yourself enough room to work without kinking the transition duct.
- Disconnect the transition duct
- Loosen clamps. If the duct is crushed, scorched, or plastic, plan to replace it with semi-rigid aluminum.
- Clean the lint screen cavity
- Remove the screen and use a narrow lint brush or crevice tool to vacuum deep into the channel.
- Brush the in-wall/under-floor duct
- From the indoor opening, feed the brush and rods into the duct.
- If your kit is drill-compatible, spin slowly in a clockwise direction to avoid unthreading the rods.
- Work in stages, withdrawing the brush to vacuum lint as you go.
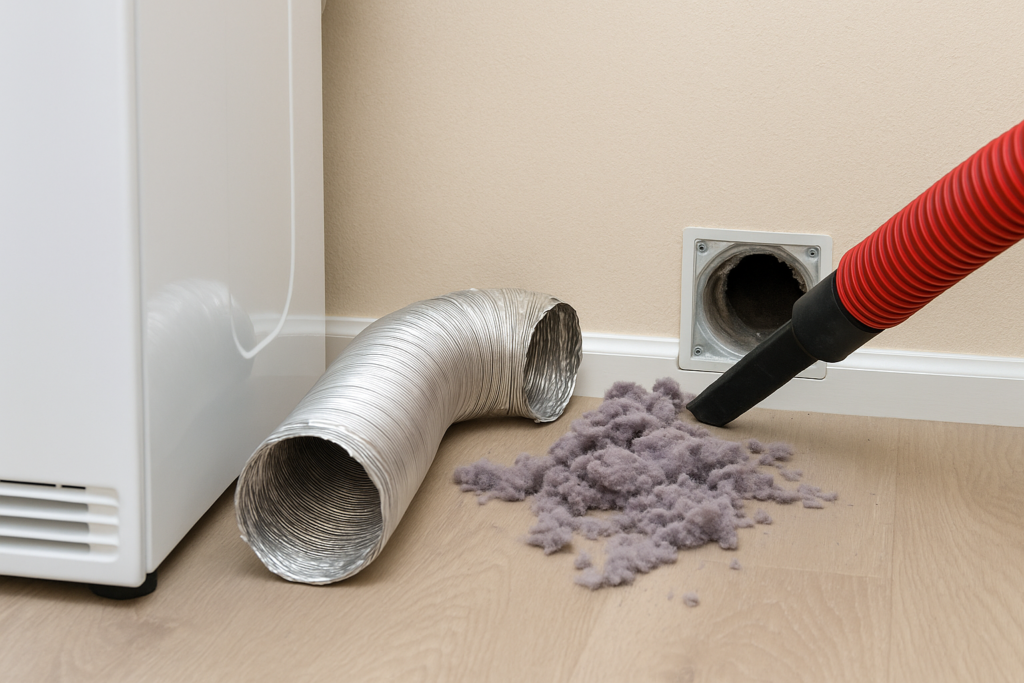
- Clean the exterior termination
- Remove the hood cover if possible. Brush and vacuum the last section thoroughly.
- Ensure the backdraft damper moves freely; remove any screen that traps lint (use a proper bird guard instead).
- Reassemble with best-practice ducting
- Use rigid or semi-rigid metal for the transition.
- Keep bends gentle; no screws protruding into the airflow (they catch lint).
- Seal joints with foil HVAC tape, not cloth tape.
- Test the airflow
- Run the dryer on air-only. At the exterior hood, you should feel strong exhaust and see the flap fully open.
- A simple tissue-paper test (held near the hood) should show consistent push.
Design rules for a safer, faster-drying vent

- Shortest path wins: Minimize length and elbows. Each 90° bend adds “virtual length,” reducing airflow.
- Right-sized duct: Standard 4-inch (100 mm) smooth metal. Avoid PVC and flex duct inside walls.
- No screws inward: Use band clamps or foil tape; don’t pierce the duct where lint can snag.
- Accessible termination: Wall-mounted hoods are easier to inspect than roof terminations.
- Keep clearance: Leave space behind the dryer to avoid crushing the transition duct.
- Don’t run unattended: Avoid running the dryer when sleeping or away from home.
Quick maintenance checklist (print and stick near the dryer)

- Empty the lint screen after every load
- Confirm exterior flap opens on each cycle
- Vacuum around/under the dryer monthly
- Wash lint screen monthly (removes softener film)
- Deep-clean vent every 6–12 months
- Replace damaged or plastic transition ducts with semi-rigid metal
- Keep combustibles away from the dryer area
DIY vs. calling a professional
A straight, short vent is an easy DIY job with a brush kit and vacuum. Consider a pro if your setup includes:
- Roof exits or vents longer than ~10–12 m with multiple bends
- Hidden runs you can’t access from both ends
- Repeated dryer shutdowns or burning odors after cleaning
- Evidence of birds’ nests, stuck dampers, or crushed ducts inside walls
Again, Appliance Rescue provides guidance only, not repair services. If you need tailored advice or have a safety concern, contact us for tips on the next steps you can take or questions about this checklist.
Bottom line
Clean the lint screen every load, refresh the vent every 6–12 months, and use the right tools: a brush-rod kit, vacuum, semi-rigid metal transition, and foil HVAC tape. Keep the run short and smooth, and your dryer will run cooler, faster, and safer—no service call required.
If you want more step-by-step guidance or have a specific layout question, contact us—and browse the how-tos at Appliance Rescue for detailed tips and troubleshooting.