

How to Clean Refrigerator Coils: A Simple Guide
Your refrigerator works hard around the clock to keep your food fresh, but did you know that dirty coils can drastically reduce its efficiency? Cleaning refrigerator coils is one of the easiest and most effective ways to improve your appliance’s performance, extend its lifespan, and even cut down on energy bills. In this guide, we’ll walk you through why it's important and exactly how to do it—step by step.
Why Cleaning Refrigerator Coils Matters
Refrigerator coils—either located at the back or underneath your unit—are responsible for releasing heat from the appliance. Over time, these coils collect dust, dirt, pet hair, and other debris, which can trap heat and force your fridge to work harder. The result? Higher energy consumption, reduced cooling efficiency, and a shorter lifespan for your refrigerator.
How Often Should You Clean Refrigerator Coils?
Most manufacturers recommend cleaning refrigerator coils at least twice a year. However, if you have pets or live in a dusty environment, you may need to clean them every 3–4 months.

What You’ll Need
Before you begin, gather the following supplies:
- Vacuum cleaner with a brush attachment
- Coil cleaning brush (available at hardware stores)
- Flashlight
- Screwdriver (if applicable)
- Gloves and dust mask (optional)
Step-by-Step: How to Clean Refrigerator Coils
Step 1: Unplug the Refrigerator
Safety first. Always unplug your refrigerator before performing any maintenance to avoid the risk of electric shock.
Step 2: Locate the Coils
Refrigerator coils are typically found in one of two places:
- Rear coils: Located at the back of the refrigerator.
- Bottom coils: Behind a grille at the front or back base of the unit.
Use your flashlight to locate them if visibility is limited.
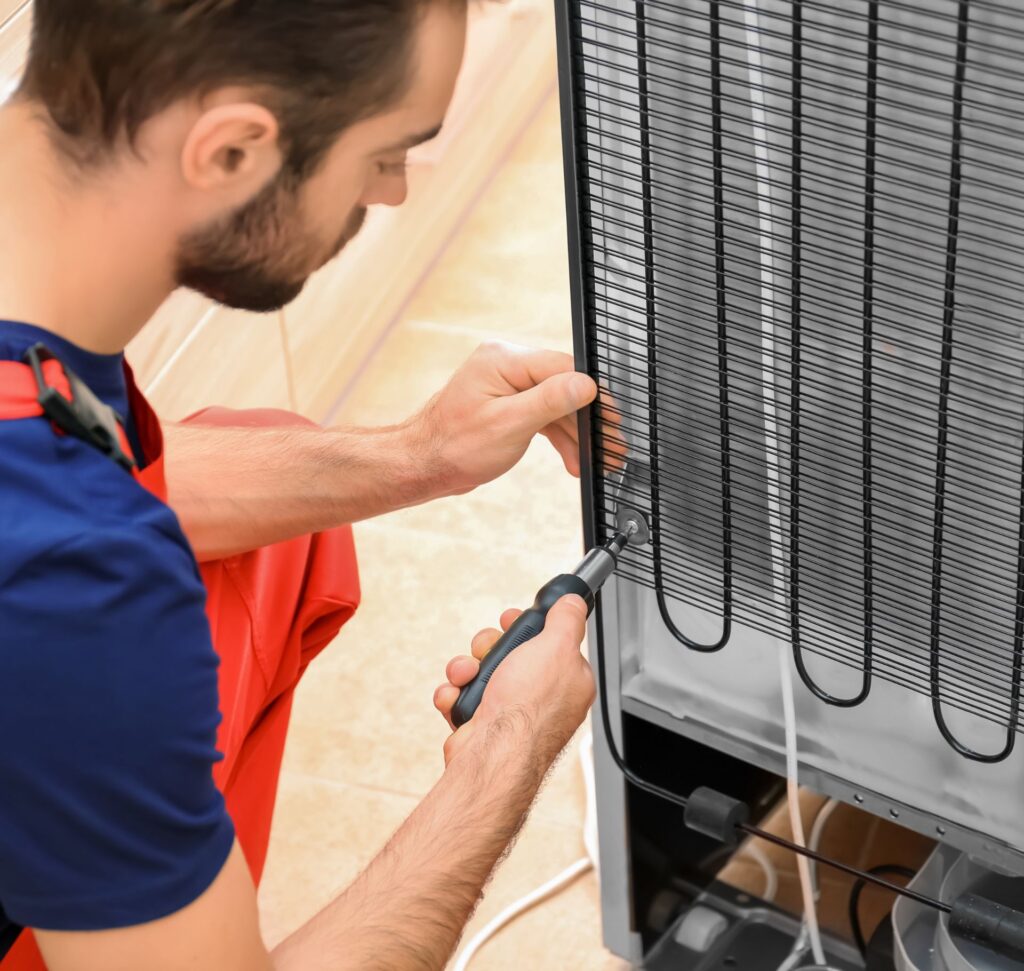
Step 3: Remove the Access Panel or Grille
If your fridge has a bottom grille, gently pop it off. If the coils are at the back, carefully pull the unit away from the wall and remove the rear access panel if needed.
Step 4: Vacuum and Brush the Coils
Use your vacuum’s brush attachment to remove loose dust and debris. Follow up with a coil cleaning brush to loosen any stubborn dirt between the coils. Then vacuum again to clean up what the brush dislodged.
Tip: Be gentle! Bending the coils can damage them and impair function.
Step 5: Clean the Surrounding Area
While you're back there, it’s a good idea to vacuum the floor and wall behind or beneath the refrigerator to minimize future dust buildup.
Step 6: Replace Grille and Plug In
Once everything is clean, reattach any panels or grilles, move the fridge back into place, and plug it back in.
Final Thoughts
Cleaning your refrigerator coils might seem like a small task, but it can make a big difference in how well your fridge operates. With just 15–30 minutes of effort, you can improve cooling performance, extend the life of your appliance, and potentially save money on your electricity bill.
Make this simple maintenance habit part of your seasonal cleaning routine, and your refrigerator will thank you with years of reliable service.