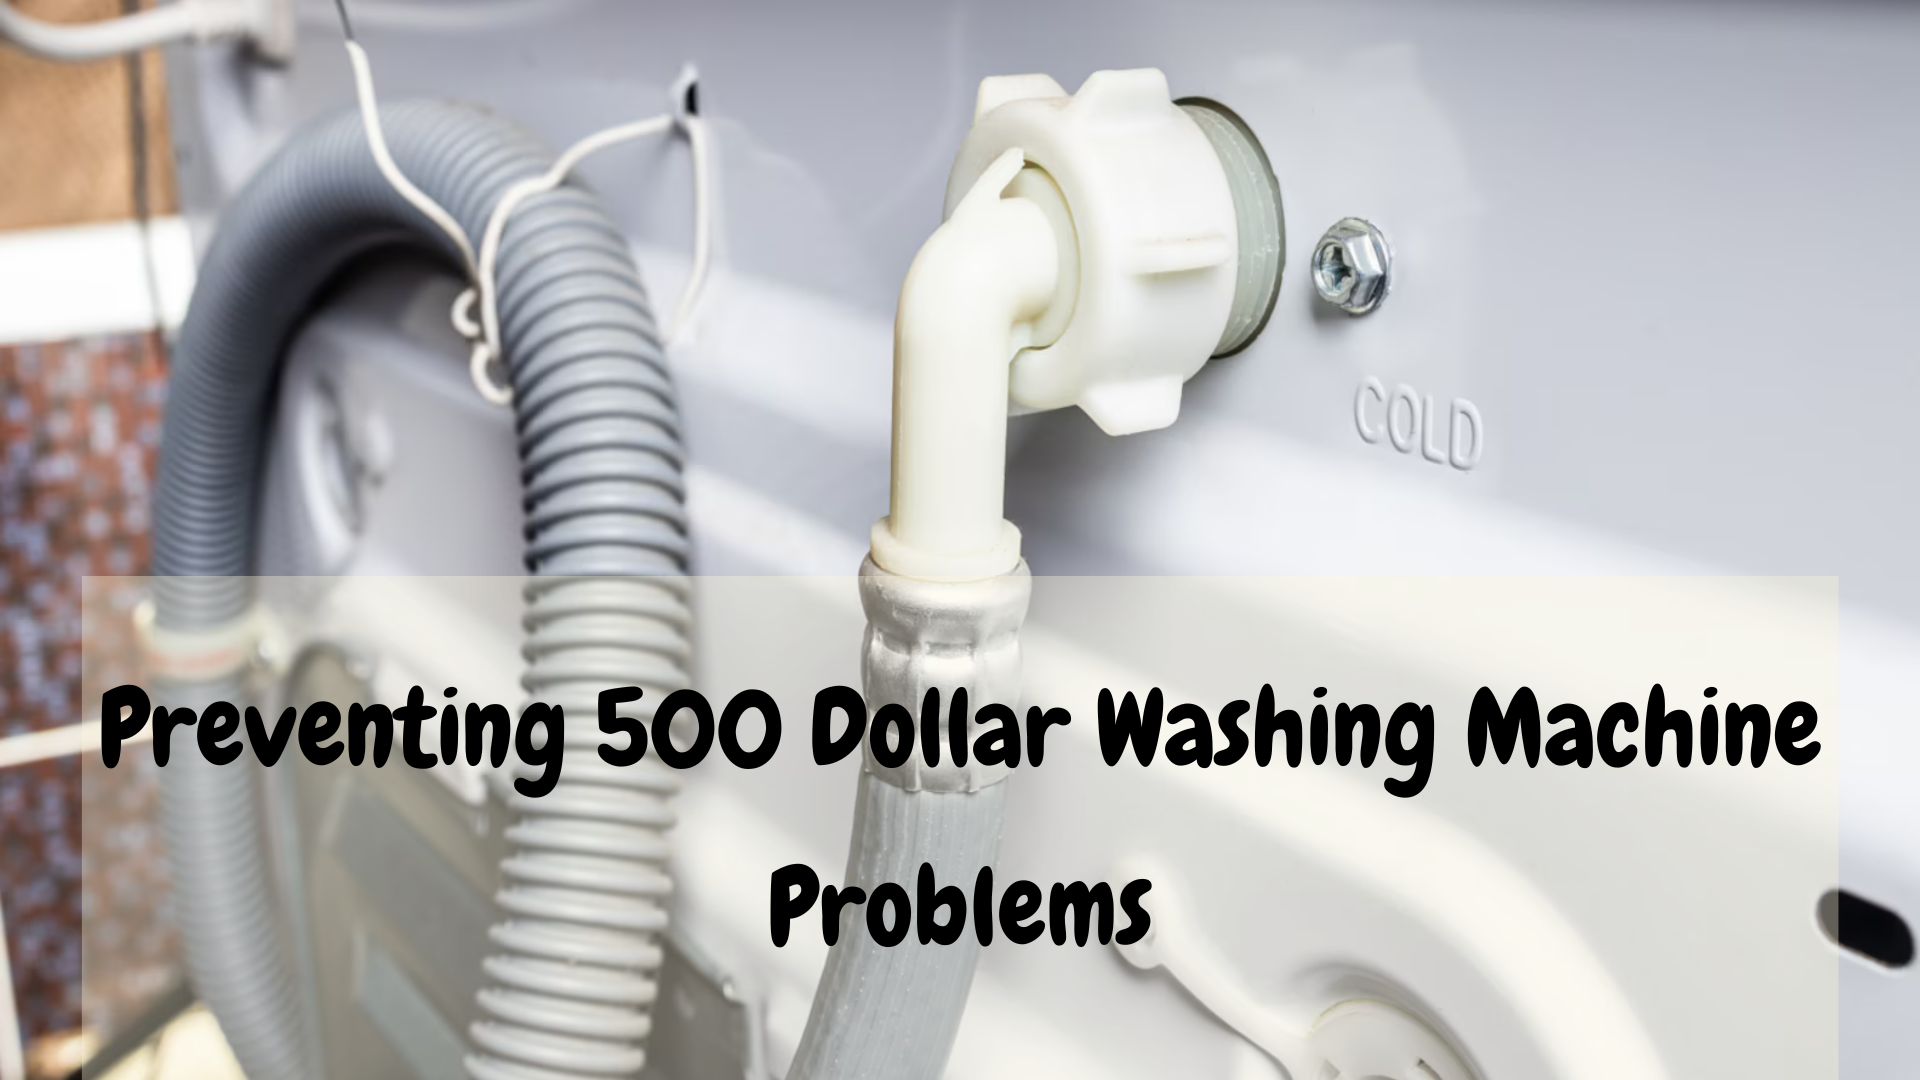

The Essential Guide to Washer Fill Hoses: Inspect, Detect, Replace
Homeowners rarely think about the two small hoses behind the washer—until one fails. A burst or slowly leaking fill hose can dump dozens of gallons of water in minutes, warp floors, stain ceilings, and trigger mold remediation. That’s the kind of avoidable “$500 problem” (often much more) this guide is designed to help you prevent. Below you’ll find a practical, step-by-step walkthrough to inspect, choose, and replace washing machine fill hoses, with specific tips for both traditional rubber hoses and stainless-steel braided versions.
Note: Appliance Rescue provides expert guides, appliance tips, and troubleshooting advice. They do not offer repair services. If you need clarification on anything in this guide, feel free to Contact us.
Why Fill Hoses Fail (and Why It Matters)
Fill hoses are under pressure every hour of every day. Time, heat, UV exposure, household chemicals, and mineral content in water all work against them. Failures typically occur at the weak points: the rubber tube itself (for standard hoses), the crimped ferrules at the ends, or the plastic/metal washers that are supposed to seal the connection. Even braided hoses can fail if the inner tube deteriorates or if corrosion compromises the end fittings.
A small pinhole leak can soak drywall and subfloors for months before it’s noticed; a full rupture can flood a room in minutes. Either way, the cleanup bill is often far higher than the cost of a few preventative checks and a timely replacement.
Service Life: How Often Should You Replace Hoses?
- Standard rubber hoses: Replace every 5 years or sooner if any wear is found.
- Stainless-braided hoses: Often marketed as “long-life,” but a safe planning window is 5–7 years—still inspect annually.
- After any move or renovation: Replace hoses if they were kinked, crushed, or if the fittings were stressed.
- Any visible defect (see checklists below): Replace immediately—don’t wait for the calendar.
What You’ll Need for Inspection & Replacement
- Flashlight and a small mirror (to see behind the washer)
- Microfiber cloth or paper towels
- Bucket or shallow pan
- Adjustable wrench (or pliers with smooth jaws)
- New hoses (preferably with 90° elbow at the washer end and brass fittings)
- New rubber washers (usually included with hoses)
- Optional: auto-shutoff (“flood-safe”) hoses, water hammer arrestors
Safety First
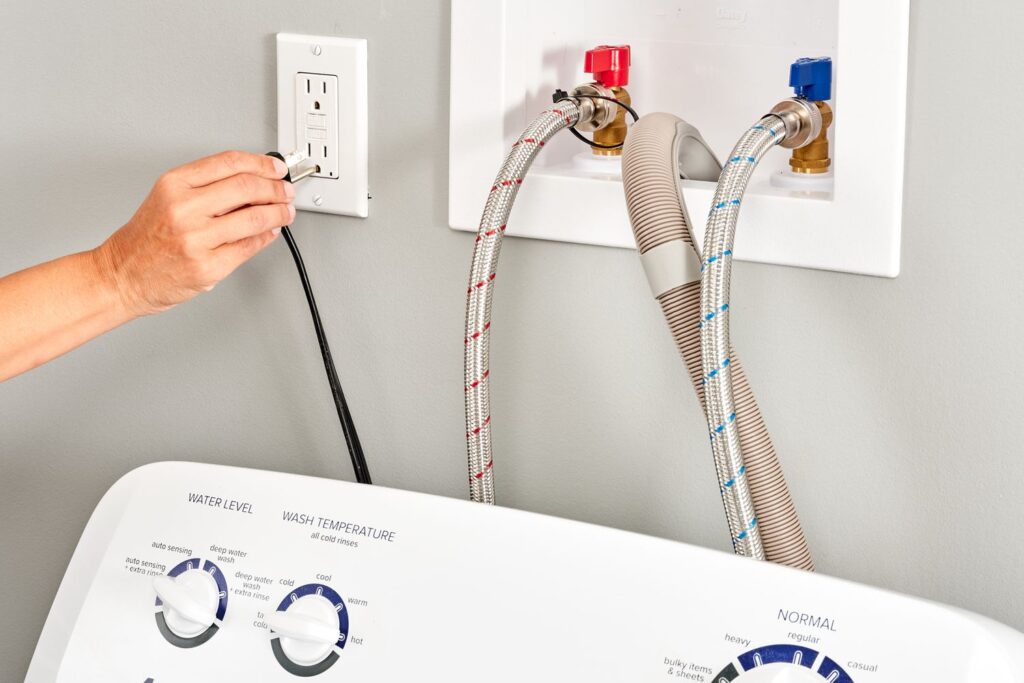
- Unplug the washer.
- Turn off both water supply valves (hot and cold). If valves won’t turn easily or won’t fully close, stop and consider replacing those valves first.
- Relieve pressure: Run a short “fill” cycle for a second (with power unplugged, just crack the valve and then close)—or carefully loosen a hose at the valve end with a bucket underneath.
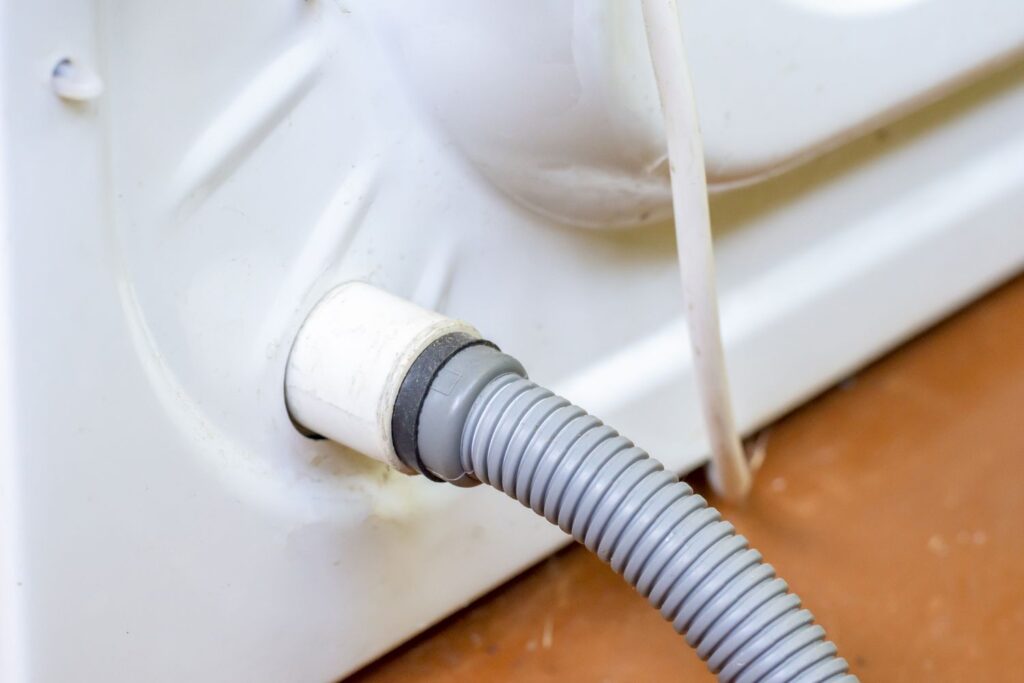
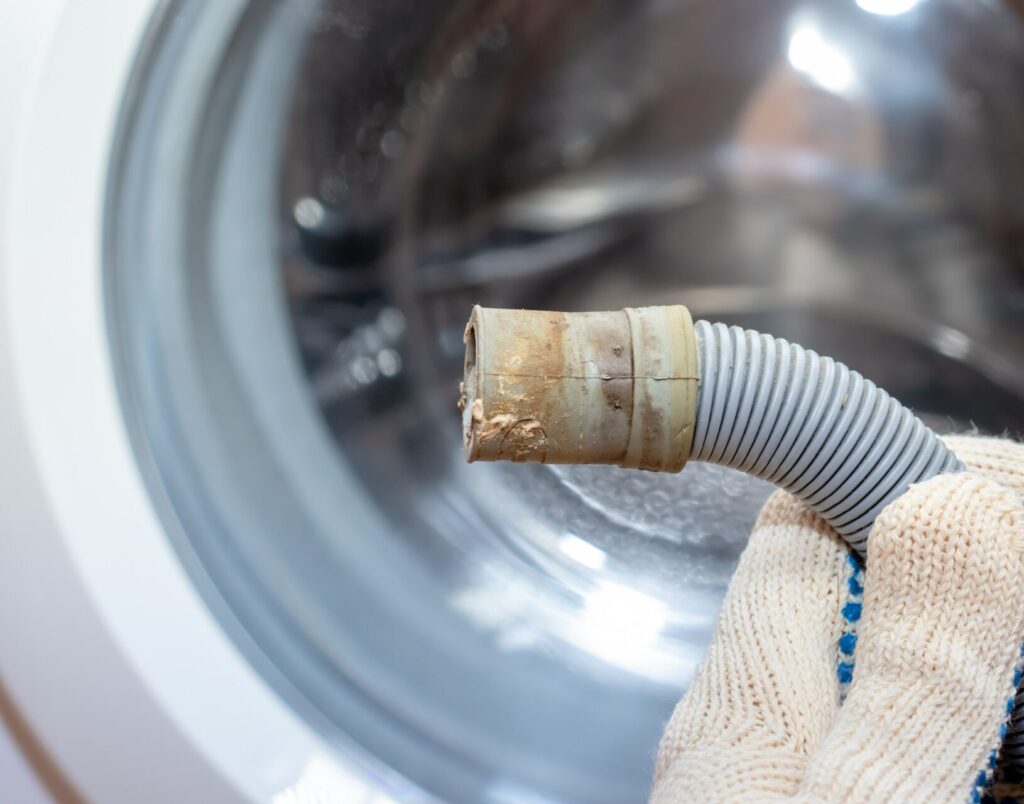
Visual & Tactile Inspection Checklist
A. Rubber Hoses — Common Signs of Wear
- Bulges or blisters anywhere along the hose—a red flag for imminent rupture.
- Cracking or checking in the rubber, especially near bends and ferrules.
- Soft spots that feel thinner or “gummy” compared to the rest of the hose.
- Discoloration or chalky surface, indicating UV/ozone damage.
- Rust at clamps or ferrules—suggests moisture intrusion and weakening.
- Persistent kinks (flat spots) that don’t spring back—flow restriction and stress point.
B. Stainless-Braided Hoses — What to Look For
- Flattened or “bird-caged” braid where wires separate or puff outward—inner tube may be compromised.
- Broken or frayed strands of the braid—mechanical damage or fatigue.
- Corrosion on fittings (especially where brass meets steel), white/green deposits, or pitted surfaces.
- Stiffness or “set” at tight bends—the inner tube can be creased.
- Weeping at the ferrule (the crimped metal sleeve)—tiny leaks often show as mineral crust.
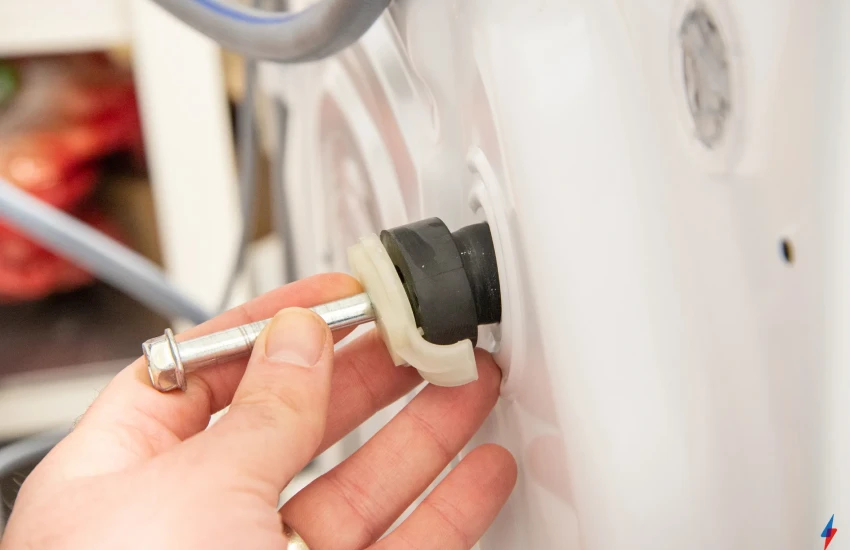
C. At the Connections (Both Types)
- Drips or crusty mineral buildup on the valve or machine inlets.
- Damaged or missing rubber washers inside the hose ends.
- Cross-threaded, wobbly, or overtightened fittings can crack plastic inlets on the washer.
- Hot hose hotter than expected outside of a cycle—indicates valve seepage or heat aging.
If you see any of the above, replace the hoses promptly.
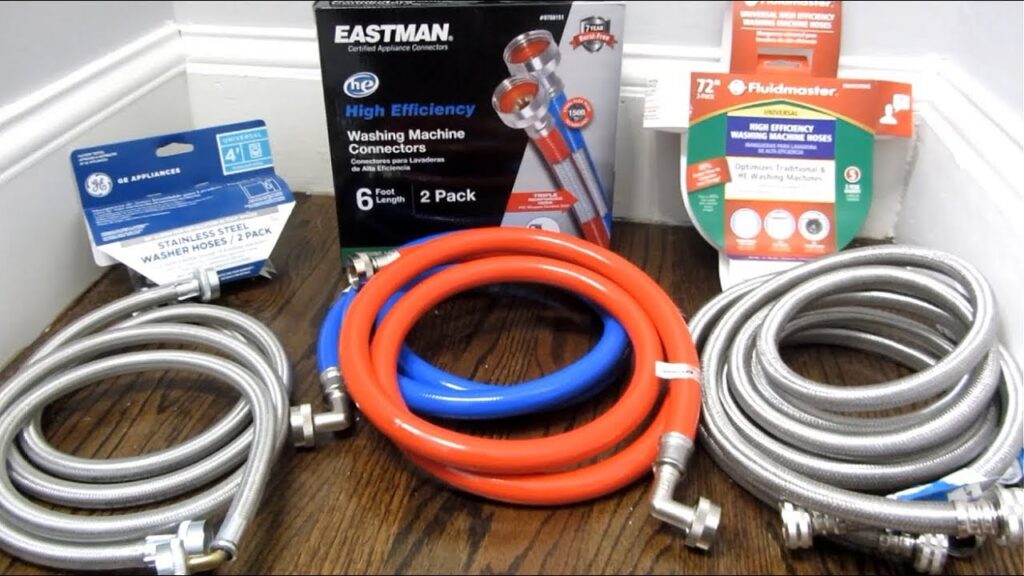
Choosing Replacement Hoses: What Actually Matters
- Material:
- Rubber: Budget-friendly, but it accepts fewer bends and ages faster.
- Stainless-braided: Better mechanical protection, but not invincible; still check annually.
- Fittings: Prefer brass over plastic. Brass threads are more forgiving and corrosion-resistant.
- Elbow Ends: A 90° elbow at the washer helps avoid kinks in tight spaces.
- Length: Long enough to avoid sharp bends; extra slack is better than a forced curve.
- Auto-Shutoff (“Flood-Safe”) Options: These contain a check mechanism that limits flow if a rupture occurs. They add cost and a slight flow restriction, but can mitigate catastrophic leaks.
- Certifications: Look for hoses marked for potable water and pressure ratings at or above household supply pressures.
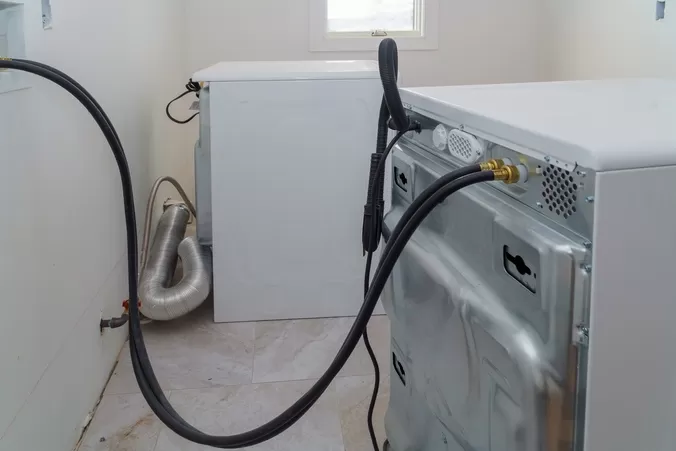
Step-by-Step: Replacing the Hoses (10–20 Minutes)
- Turn off the water, unplug, and pull the washer forward a safe distance without pinching the existing hoses.
- Place a bucket/pan under the valves.
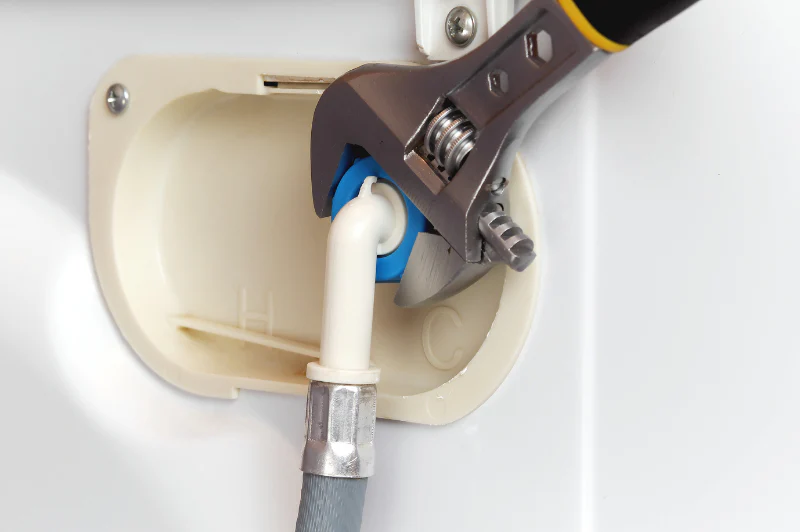
- Loosen the hose at the valve end first. Allow residual water to drain into the bucket.
- Disconnect at the washer inlet. Inspect the inlet screens on the machine—clean gently with a soft brush if clogged.
- Check the old hose washers. Note their condition for learning; discard them.
- Prepare the new hoses: Insert new rubber washers (if not pre-installed). Do not add thread seal tape to hose connections that seal with washers—the washer is the seal.
- Attach to the washer first: (use the elbow end if provided). Thread by hand to avoid cross-threading.
- Snug with a wrench: Hand-tight plus a small additional turn (about 1/8–1/4 turn). Do not over-tighten—this can deform washers or crack plastic inlets.
- Route the hose with gentle bends; avoid tight radii, sharp edges, or crushing behind the cabinet.
- Attach to the supply valves, again hand-tight, then snug slightly with a wrench.
- Open the valves slowly and check for leaks at both ends. If a joint weeps, snug it a bit more.
- Plug in the washer and run a quick fill test on both hot and cold. Re-check for drips after 5–10 minutes and again after your next full cycle.
- Slide the washer back carefully, verifying hoses don’t rub or kink.
Preventive Upgrades That Save Floors (and Money)
- Lever-type shutoff valves: Easier to close fast; practice using them.
- Water hammer arrestors: Reduce pressure spikes that fatigue hoses and valves.
- Drip pan with drain (where code allows): Adds a second layer of protection, especially in upstairs laundry rooms.
- Smart leak detectors: Place one behind/under the washer; many send phone alerts.
- Label and calendar reminder: Write the installation month/year on the hose and set a reminder to inspect every 6–12 months.
Troubleshooting: After Replacement
- Slow fill: Clean the washer’s inlet screens; check for partially closed valves or kinked hoses.
- Intermittent drips at fittings: Replace the rubber washer and re-snug. Inspect for hairline cracks on plastic inlets.
- Hammering or banging pipes: Add water hammer arrestors or reduce fill valve opening speed if adjustable.
- Discolored water on first fill: Briefly flush hoses into a bucket before attaching to the washer.
The $500 Lesson (That You Don’t Have to Learn the Hard Way)
A set of quality hoses costs far less than a single insurance deductible—let alone repairs, downtime, and headaches. A five-minute inspection during seasonal cleaning and a scheduled replacement every few years eliminate a common source of surprise water damage.
For more tips like this—and step-by-step troubleshooting that keeps your laundry room dry—browse Appliance Rescue. If something in your setup looks unusual or you’re unsure about a step, Contact us with your question. Remember: the site offers guides and advice, not repair services.