")

Why Your Glasses Look Hazy—and the Dishwasher Filter Fix
If your dishwasher seems louder than it used to be, leaves a grit confetti on plates, or turns your once-sparkling tumblers foggy, your filter system is asking for attention. This guide explains how dishwasher filters work, how to clean them properly, how often to maintain them, and—because it drives everyone a little mad—what actually causes that stubborn haze on glassware.
Quick note: Appliance Rescue doesn’t offer repair services. Instead, the team focuses on Expert Guides, Appliance Tips, and Troubleshooting Advice to help you solve problems safely at home. If you have questions after reading, Contact us. You can also explore more how-tos on Appliance Rescue.
Why Your Dishwasher Has Filters (and What They Do)
Modern dishwashers use a multi-stage filtration system that:
- Intercepts food particles so they don’t recirculate onto dishes.
- Protects the pump and spray arms from clogs and premature wear.
- Keeps water cleaner for more effective detergent action and better drying.
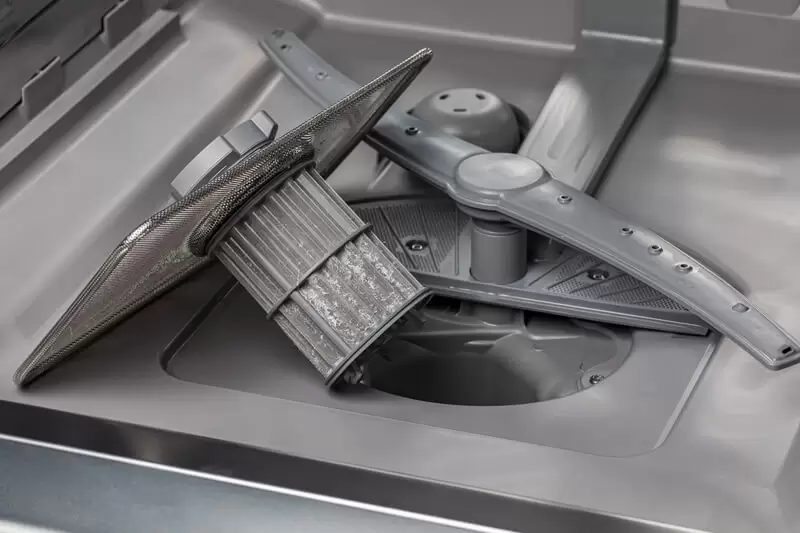
Most designs include:
- Coarse filter (screen or grate): Catches larger debris like pasta or eggshells.
- Fine/mesh filter (often a cylindrical micro-mesh): Traps coffee grounds, rice, and smaller particles.
- Sump area (below the filter assembly): Where water collects; debris can accumulate here and block flow.
Some older models used self-cleaning grinders. Today, quiet, energy-efficient machines rely on manual-clean filters—fantastic for performance, but they do need regular attention.
Signs Your Filter Needs Cleaning
- Gritty residue or small food flecks on dishes
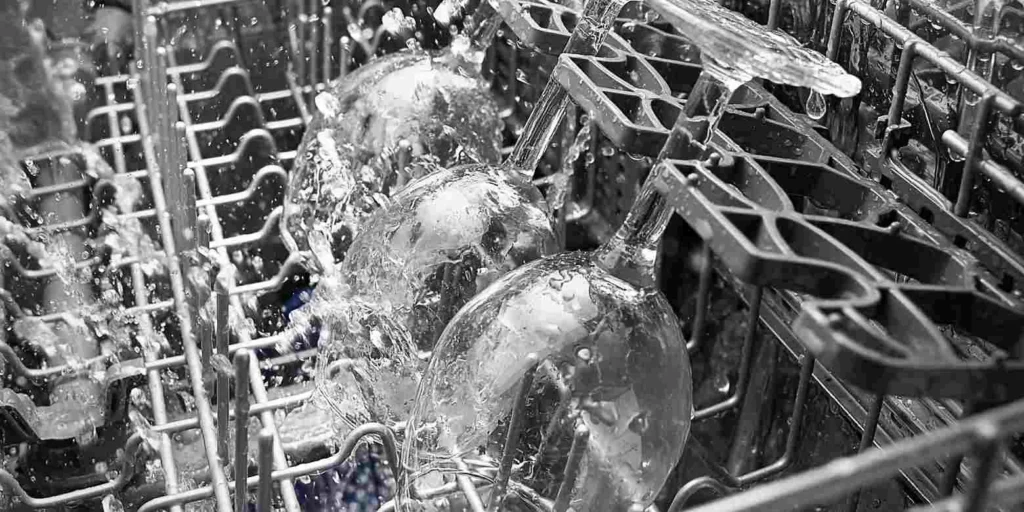
- Cloudy or hazy glasses (more on the causes shortly)
- Persistent odors even after hot cycles
- Longer cycles or poor drying
- Audible “growling” or spray arm sputtering
If you’re seeing two or more of these, it’s time to clean the filter assembly.
Safety First: Prep Before You Start
- Turn off power: Switch the dishwasher off at the wall or breaker.
- Cool down: Ensure the unit isn’t hot from a recent cycle.
- Clear the base: Remove the lower rack for easier access.
- Check the manual: Filter designs vary; the release tab or twist direction may differ by brand.
Step-by-Step: How to Clean a Dishwasher Filter
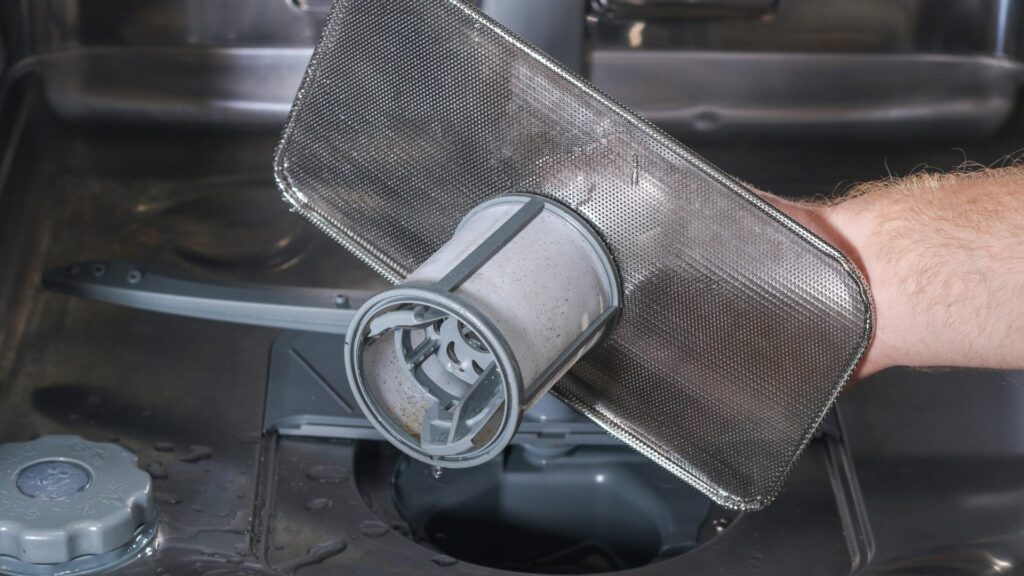
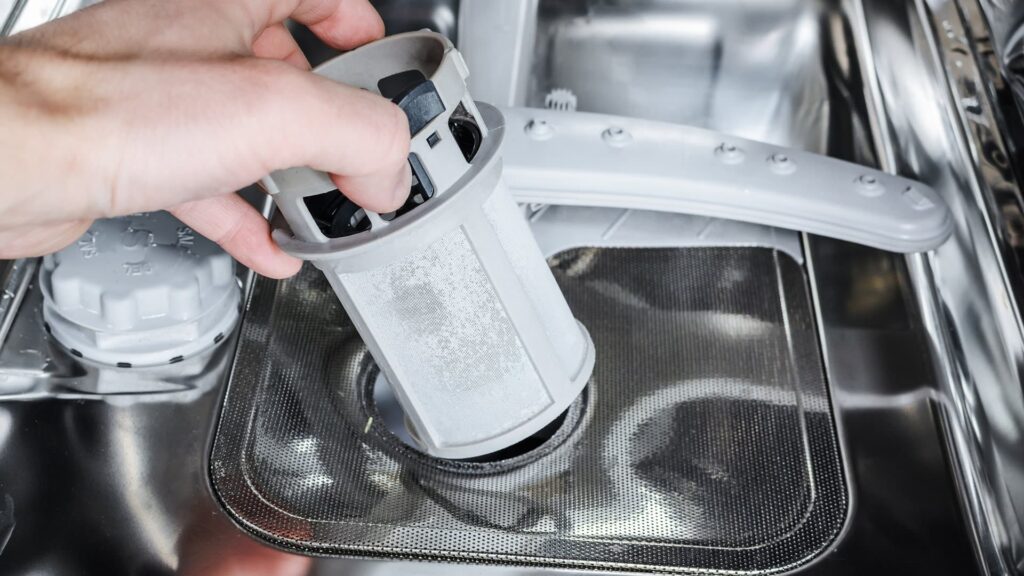
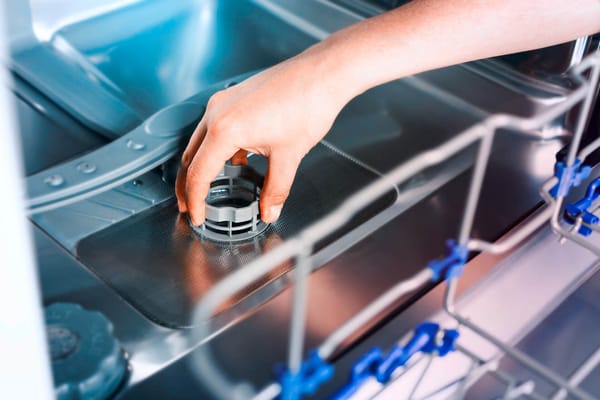
- Locate and remove the filter assembly
- Usually, in the bottom center of the tub.
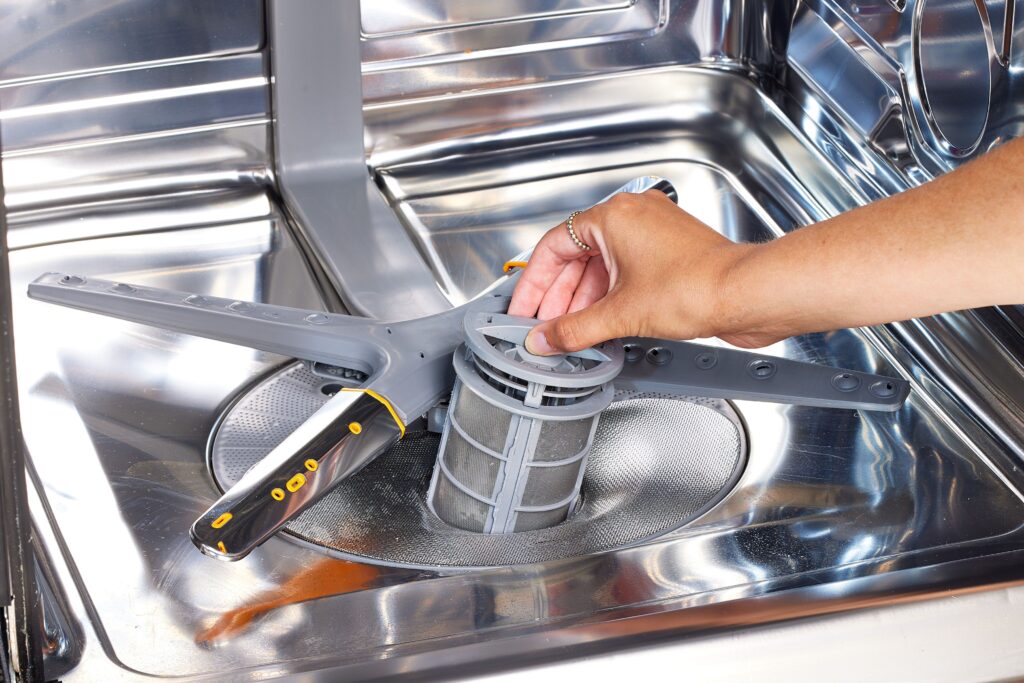
- Twist counterclockwise (common) or release a tab to lift out the cylindrical fine filter and the coarse screen.
- Rinse under warm water
- Use a soft brush or an old soft-bristle toothbrush. Avoid steel wool or stiff brushes—these can tear the fine mesh.
- Degrease gently
- For greasy films, soak the filters in warm water + a drop of mild dish soap for 10–15 minutes.
- Optionally add a tablespoon of baking soda to help loosen residue.
- Tackle mineral scale
- If you see chalky white buildup, spritz with plain white vinegar, let sit 5 minutes, then rinse.
- Do not use bleach on stainless filters, and never mix vinegar with bleach.
- Clean the sump and spray area
- Shine a flashlight into the sump; remove visible debris with paper towels or tongs.
- Spin spray arms by hand; if they bind, remove and rinse them, clearing any clogged holes with a wooden toothpick.
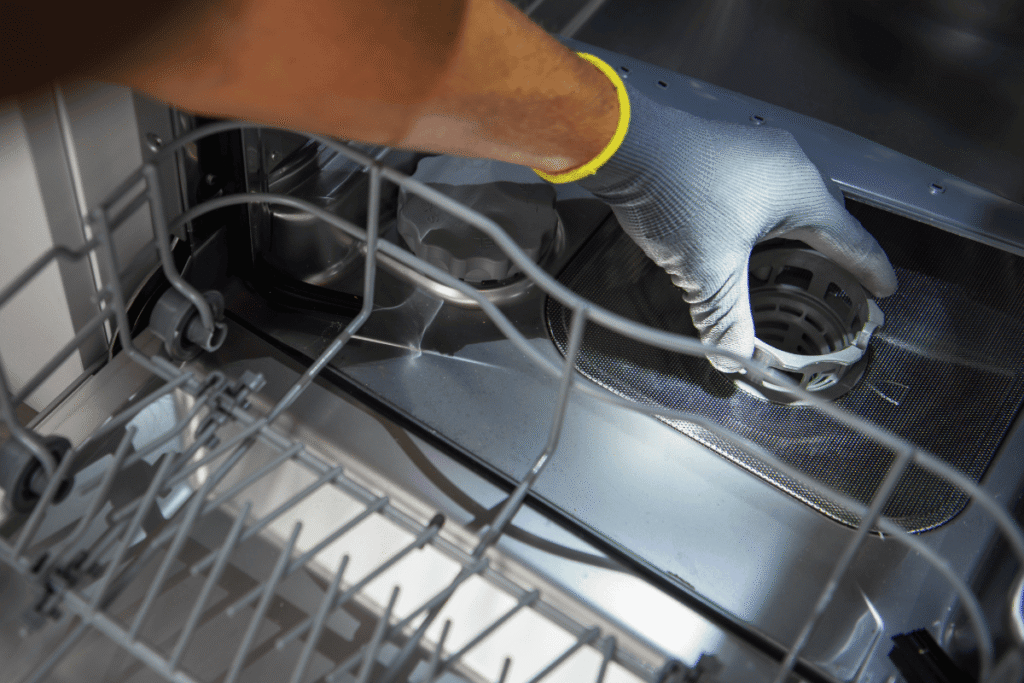
- Reassemble correctly
- Seat the coarse screen first, then the fine filter. Ensure the twist-lock fully engages so water can’t bypass the mesh.
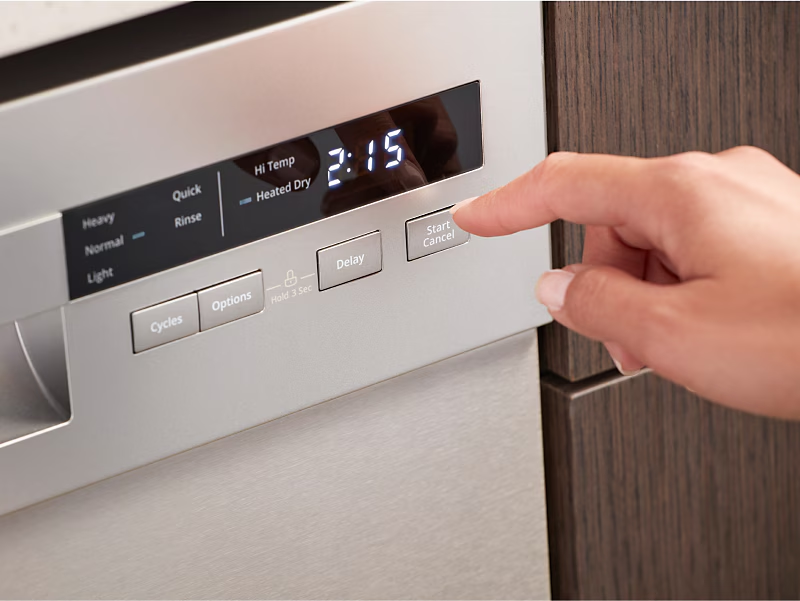
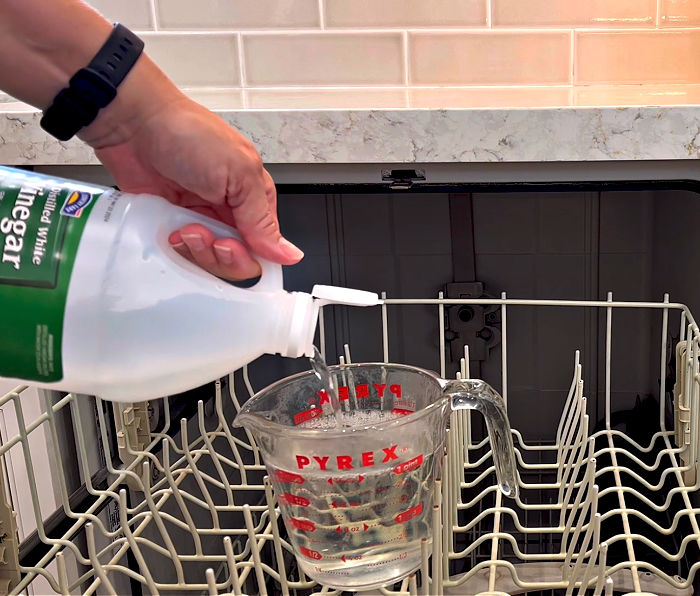
- Run a hot maintenance cycle
- With the dishwasher empty, run the hottest cycle to flush the system. You can place a cup of vinegar on the top rack (if your manufacturer permits).
How Often Should You Clean the Filter?
- Every 2–4 weeks for average households (daily use, mixed loads).
- Weekly, if you often skip pre-scraping or run heavy, starchy loads (pasta, potatoes, rice).
- After holidays or parties, big loads shed a lot of debris.
- Quarterly deep-clean: Disassemble, soak, and inspect spray arms and the sump.
Consistency matters more than perfection; a quick rinse every two weeks prevents most issues.
The Real Reasons Glasses Turn Hazy
“Haze” isn’t one single problem. It’s usually one (or a mix) of these:
- Hard-Water Mineral Film
- Calcium and magnesium precipitate during the cycle, leaving a white, chalky film.
- More likely if you see a similar film on stainless steel or the dishwasher interior.
- Detergent Residue & Low Rinse Action
- Too much detergent for your water softness, or old/under-rinsing formulas, leave a slightly sticky, uniformly dull film.
- A clogged or dirty filter worsens this by recirculating dirty water.
- Etching (Microscopic Glass Corrosion)
- Appears as a permanent, frosty look, often with a rainbow sheen at certain angles.
- Caused by a cocktail of high water temperature, soft water, aggressive alkalinity, and long exposure. Once etched, glass cannot be restored.
- Mechanical Abrasion
- Glasses nesting or rattling can develop micro-scratches that read as haze.
Quick Tests
- Vinegar wipe test: If a spot wipes away with white vinegar, it’s mineral film, not etching.
- Water droplet test: If droplets bead and leave marks as they dry, suspect hardness or poor rinse aid.
Fixing Cloudy Glassware: A Targeted Plan
- Clean the filter system (today)
- A dirty filter masks root causes and guarantees poor results.
- Calibrate detergent
- Use manufacturer-recommended amounts. With pods, avoid doubling up; with powder/gel, start low and increase only if needed.
- Always use rinse aid
- It reduces spotting and helps water sheet off glass. Refill monthly.
- Address water hardness
- In hard-water areas, consider a dishwasher-safe citric acid cleaner monthly. If your model has a built-in softener, set it per your local hardness.
- Choose the right cycle
- “Normal” with heated dry and rinse aid is typically best for glass. Avoid “Sanitize/High Temp” for delicate stemware.
- Load to avoid abrasion
- Space glasses so they don’t touch. Use stemware clips if available.
- Test restoration
- Soak a hazy glass in warm water with a splash of vinegar for 10 minutes; wipe. If it clears, you were dealing with mineral film. If not, etching is likely permanent.
Preventing Problems: A Simple Maintenance Schedule
Every Load
- Scrape (don’t pre-rinse).
- Use rinse aid and the correct detergent dose.
- Load so spray arms rotate freely.
Every 2–4 Weeks
- Rinse and brush the fine and coarse filters.
- Check the sump for debris.
Monthly
- Run a hot empty cycle with a dishwasher cleaner or plain white vinegar (if allowed by your manufacturer).
- Inspect spray arms; clear clogged jets.
Quarterly
- Deep-clean the filter assembly; inspect for tears in the mesh. Replace if damaged.
Common Mistakes to Avoid
- Using harsh abrasives on the mesh filter—this can puncture it and let debris through.
- Over-detergenting—more soap does not mean cleaner dishes, especially in soft water.
- Mixing chemicals—never combine vinegar and bleach.
- Ignoring odd noises—rattles or grinding can signal debris near the impeller.
- Running only short/cold cycles—occasional hot cycles help dissolve grease and biofilm.
Troubleshooting Quick Hits

- Dishwasher smells musty: Clean filter and sump; run a hot cycle with a dishwasher cleaner; keep the door ajar between cycles for airflow.
- Grit on dishes: Verify filter lock-in, clear spray arms, and avoid overloading the lower rack.
- Film keeps returning: Check water hardness, increase rinse aid, and try a citric acid cleaner.
- Standing water after cycle: Inspect the sump and drain path for blockages; ensure the filter is seated and the drain hose has a proper high loop.
When to Replace a Filter
Replace if you see:
- Torn or frayed mesh
- Deformed plastic frames that won’t lock
- Persistent bypass (debris on dishes despite correct seating)
A new filter assembly is inexpensive compared to the performance boost it brings.
Final Word (and Where to Get More Help)

A clean filter is the keystone of dishwasher performance. It prevents redeposit, reduces haze risk, and keeps cycles efficient. Pair simple maintenance with smart loading, calibrated detergent, and routine hot cleans, and your glasses will thank you.
Remember, Appliance Rescue provides Expert Guides, Appliance Tips, and Troubleshooting Advice—not repair services. If you’re stuck or want a second opinion on your specific model, contact us and share your symptoms and model number. The more details you provide, the more precise the guidance you’ll get.