

Stop Overpaying: Clean Your Refrigerator Coils Once a Year
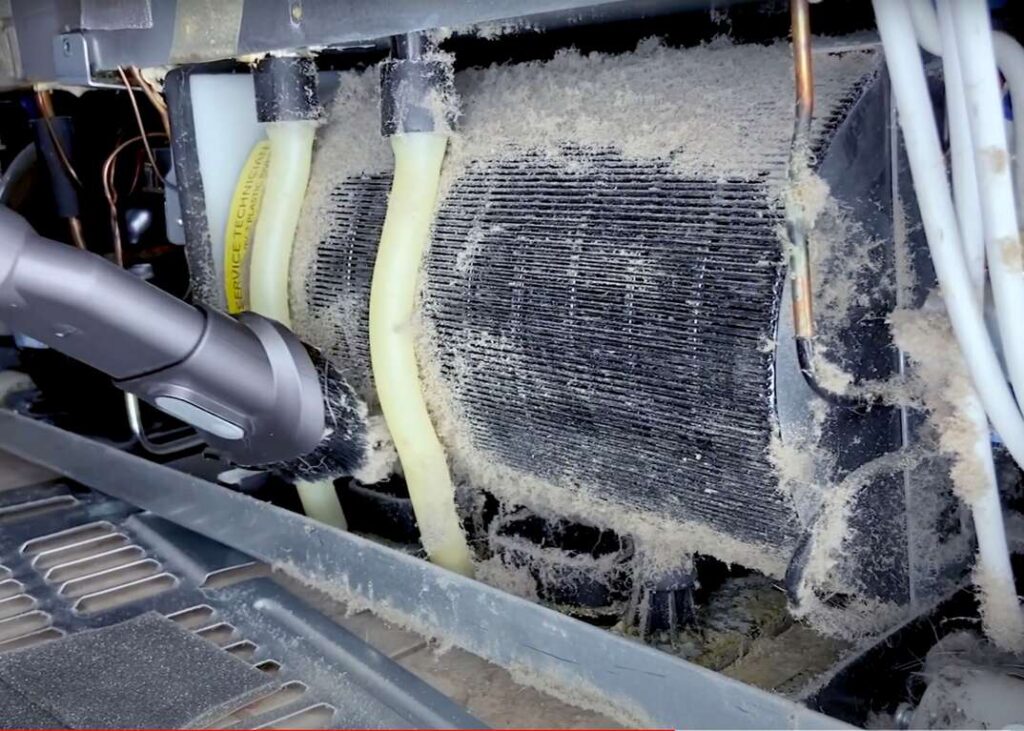
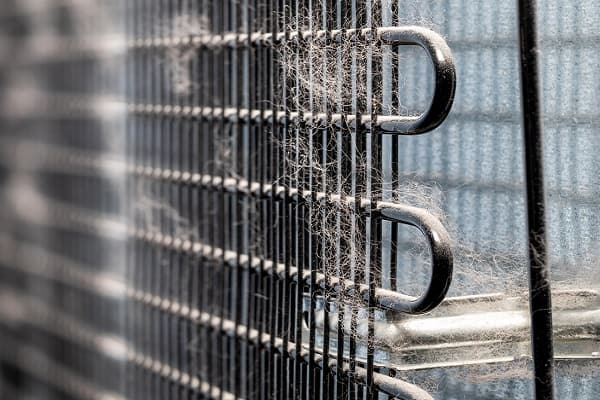
Your refrigerator is one of the few appliances that runs 24/7. Its condenser fridge coils —those radiator-like tubes that release heat—must stay clear so the compressor doesn’t overwork. When the coils are caked with dust, pet hair, or kitchen lint, the fridge runs longer, gets hotter, and draws more power than it should. The fix isn’t complicated: an annual (sometimes semiannual) coil clean restores heat transfer, helps the compressor cycle normally, and can noticeably reduce your electrical bill. It also prevents nuisance problems like warm spots, sweating doors, or that “it never quite chills down” feeling.
Quick reality check: Appliance Rescue does not offer repair services. We provide Expert Guides, Appliance Tips, and Troubleshooting Advice so you can maintain your appliances confidently.
How often should you clean the coils?
- Typical homes: once a year is enough.
- Homes with pets or open-plan kitchens: aim for every 6 months—pet hair finds coils like a magnet.
- After renovations: a one-time clean immediately afterward; drywall dust is coil kryptonite.
If your fridge is running hot to the touch at the sides, cycling constantly, or you notice higher utility bills without a clear reason, move your cleaning date up.
Tools and prep (no fancy gear required)
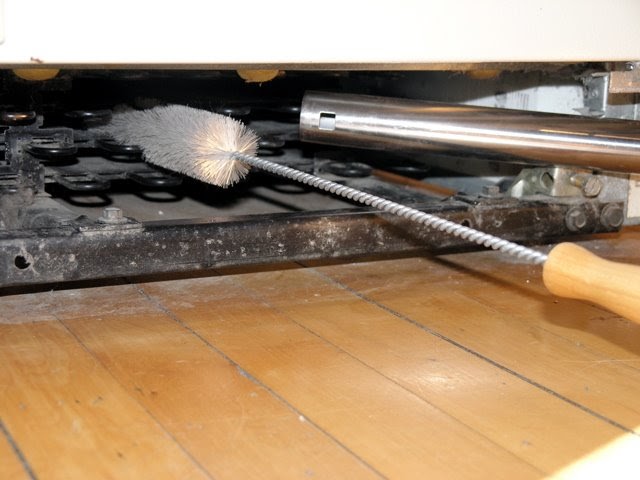
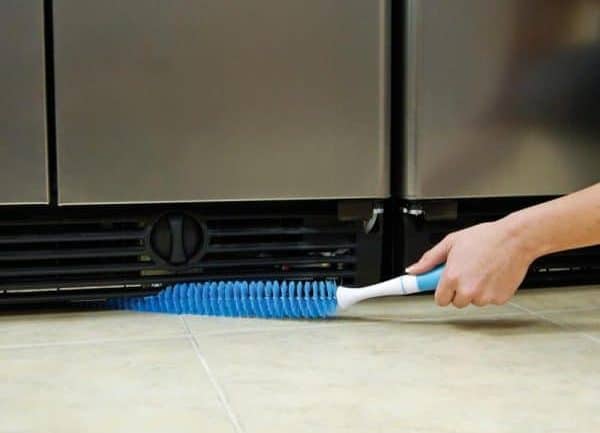
- A long, narrow coil brush (under $15 at most hardware stores)
- Vacuum with crevice tool or soft brush attachment
- Microfiber cloth and a small bowl of warm, lightly soapy water
- Flashlight for dark toe-kick grills and back panels
- Mask if you’re dust-sensitive
- Optional: compressed air (for stubborn fins) and a cardboard sheet to protect floors
Safety first: Unplug the fridge before you start. If you can’t (for example, the outlet is inaccessible), switch off the dedicated breaker briefly, clean efficiently, and restore power as soon as you’re done.
Find your coils (different fridge styles)
- Back-mounted coils (older/top-freezer models): look for an exposed black grid on the rear. These are easiest to clean but often the dustiest.
- Bottom-mounted coils (most modern units): behind a removable toe-kick grill at the front, or behind a thin rear cover panel near the compressor.
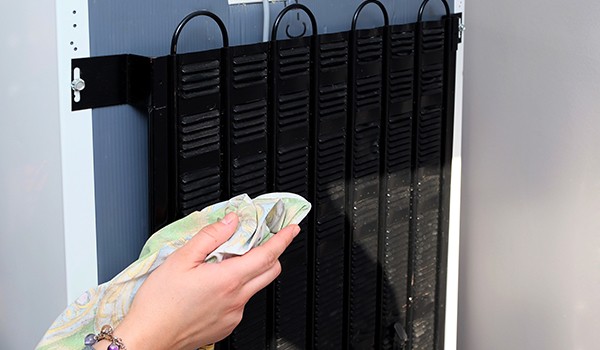
- Built-ins and panel-ready units: coils are usually behind a louvered top or bottom grill; air flow is designed front-to-back, so clear vents matter.
If access is not obvious, check the model label inside the fresh-food compartment and search its user manual online. You’re looking for “condenser location” or “cleaning the condenser.”
Step-by-step: the efficient 15-minute clean
- Power down. Unplug or open the breaker. Let the unit sit for 2–3 minutes so the fans stop.
- Create space. Roll the fridge forward a little if coils are at the back; protect the floor.
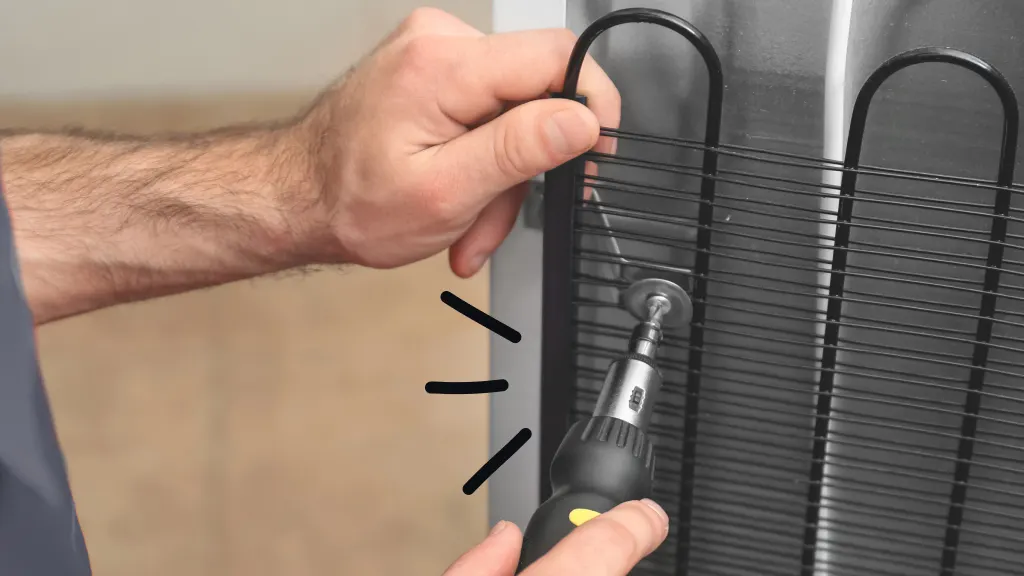
- Pop the grills. Remove the toe-kick or rear panel (usually a few clips or screws).
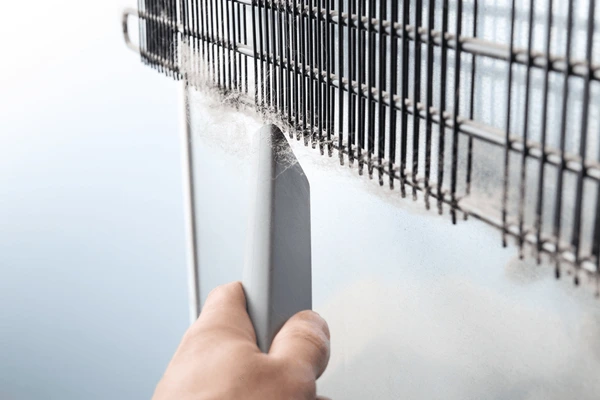
- Dry dust removal. Use the coil brush to coax lint off the fins, pulling debris outward—not deeper in. Work from top to bottom.
- Vacuum carefully. With a low-suction brush, capture loosened dust without touching delicate fins. Avoid bending them.
- Detail the edges. Use a crevice tool around fan housings, wiring, and the compressor tray.
- Wipe and re-seat. Lightly damp-wipe removable grills and the surrounding floor area. Reinstall panels.
- Restore power & listen. Plug back in and confirm the condenser fan spins quietly. Over the next hour, the compressor should run less steadily as temperatures normalize.
Pro tip: If you see flattened fins, a simple fin comb (inexpensive) can straighten them and restore airflow.
What savings should you expect?
Exact numbers vary by model, usage, and ambient temperature. But a clean condenser means shorter run times, lower compressor temperatures, and reduced energy waste. Most people notice two things within a day or two:
- The sides/back of the fridge feel less warm.
- The unit cycles off more often, and the hum is quieter.
Even modest improvements add up for a 24/7 appliance—think of this as a tiny “efficiency dividend” that pays every hour of the year.
Extra gains: placement, spacing, and airflow

Coil cleaning is half the story. To lock in your savings:
- Respect clearance. Leave the manufacturer-recommended space behind and above (often 2–5 cm).
- Don’t block the toe-kick. Floor mats and boxes that cover the grill choke airflow.
- Keep it level. A slightly tilted cabinet can make doors leak cold air and force longer cycles.
- Check door seals. Close a sheet of paper in the door; gentle resistance means the gasket seals. Clean gaskets with mild soap; replace if cracked.
Troubleshooting after a coil clean
If performance still seems off, review these quick checks before assuming a part has failed:
- Thermostat settings: 3–4 °C (37–40 °F) for fresh food, −18 °C (0 °F) for freezer.
- Load balance: An empty fridge short-cycles; add water jugs as thermal ballast.
- Iced-over freezer coils (evaporator): If you see thick frost behind the freezer’s inner panel, that’s a separate defrost-system issue—not a condenser problem.
- Continuous loud running: Could be a clogged condenser fan or a worn door gasket rather than the compressor itself.
Still unsure? Use our guides to narrow it down—or Contact us with details like brand, model number, and symptoms. We’ll point you to the right how-to resources.
Special cases: pets, smokers, and seaside homes
- Shedding seasons: Pet hair blankets coil quickly. Clean every 6 months.
- Kitchens with smoke or heavy oil use: Sticky residues glue dust to fins; consider a quarterly light brush-off without full disassembly.
- Coastal humidity: Salt and moisture can corrode fins; gentle cleaning is better than aggressive scrubbing. Watch for early corrosion and keep clearances generous.
Common myths—debunked
- “Self-cleaning coils don’t need attention.” Some models claim improved dust-shedding fins, but they’re not magic. A quick annual brush still pays off.
- “If the fridge is cold, coils are fine.” A fridge can stay cold while running inefficiently and heating your kitchen, costing you extra every month.
- “Cleaning once fixes it forever.” Dust returns. Put a reminder on your calendar.
Environmental and longevity benefits

Lower run time means less electricity from the grid, fewer heat spikes around the compressor, and less stress on start relays and fans. Over the life of the appliance, that translates into fewer parts failing and fewer bulky machines heading to the landfill prematurely. A 15-minute task turns into years of quieter, steadier service.
Quick reference checklist (print-friendly)

- Unplug the fridge / switch off the breaker
- Remove the toe-kick or rear panel
- Brush dust off fins (top → bottom)
- Vacuum gently with a soft brush
- Clean the surrounding floor and grills
- Reinstall panels, restore power
- Verify quieter, cooler operation
Where to go next
Remember, Appliance Rescue is an education hub—not a repair service provider. Explore our expert guides for deeper dives on airflow, gaskets, temperature calibration, and noise diagnostics. If you’re stuck or want a nudge in the right direction, Contact us, and we’ll help you find the exact step-by-step resource you need.